
Your listing photos are often the first showing a buyer attends. In a crowded Toronto and GTA market, weak images can reduce clicks, shorten viewing time and make a well-presented property feel less valuable before a buyer ever books a visit.
Below are seven common real estate photography mistakes—and practical ways Realtors can avoid them. For a complete overview of our photography, video, floor plan, virtual-tour and drone options, visit our Toronto real estate photography hub. If you are photographing a listing yourself, also see our 10 professional real estate photography tips.
Why Property Photo Mistakes Cost Realtors Attention
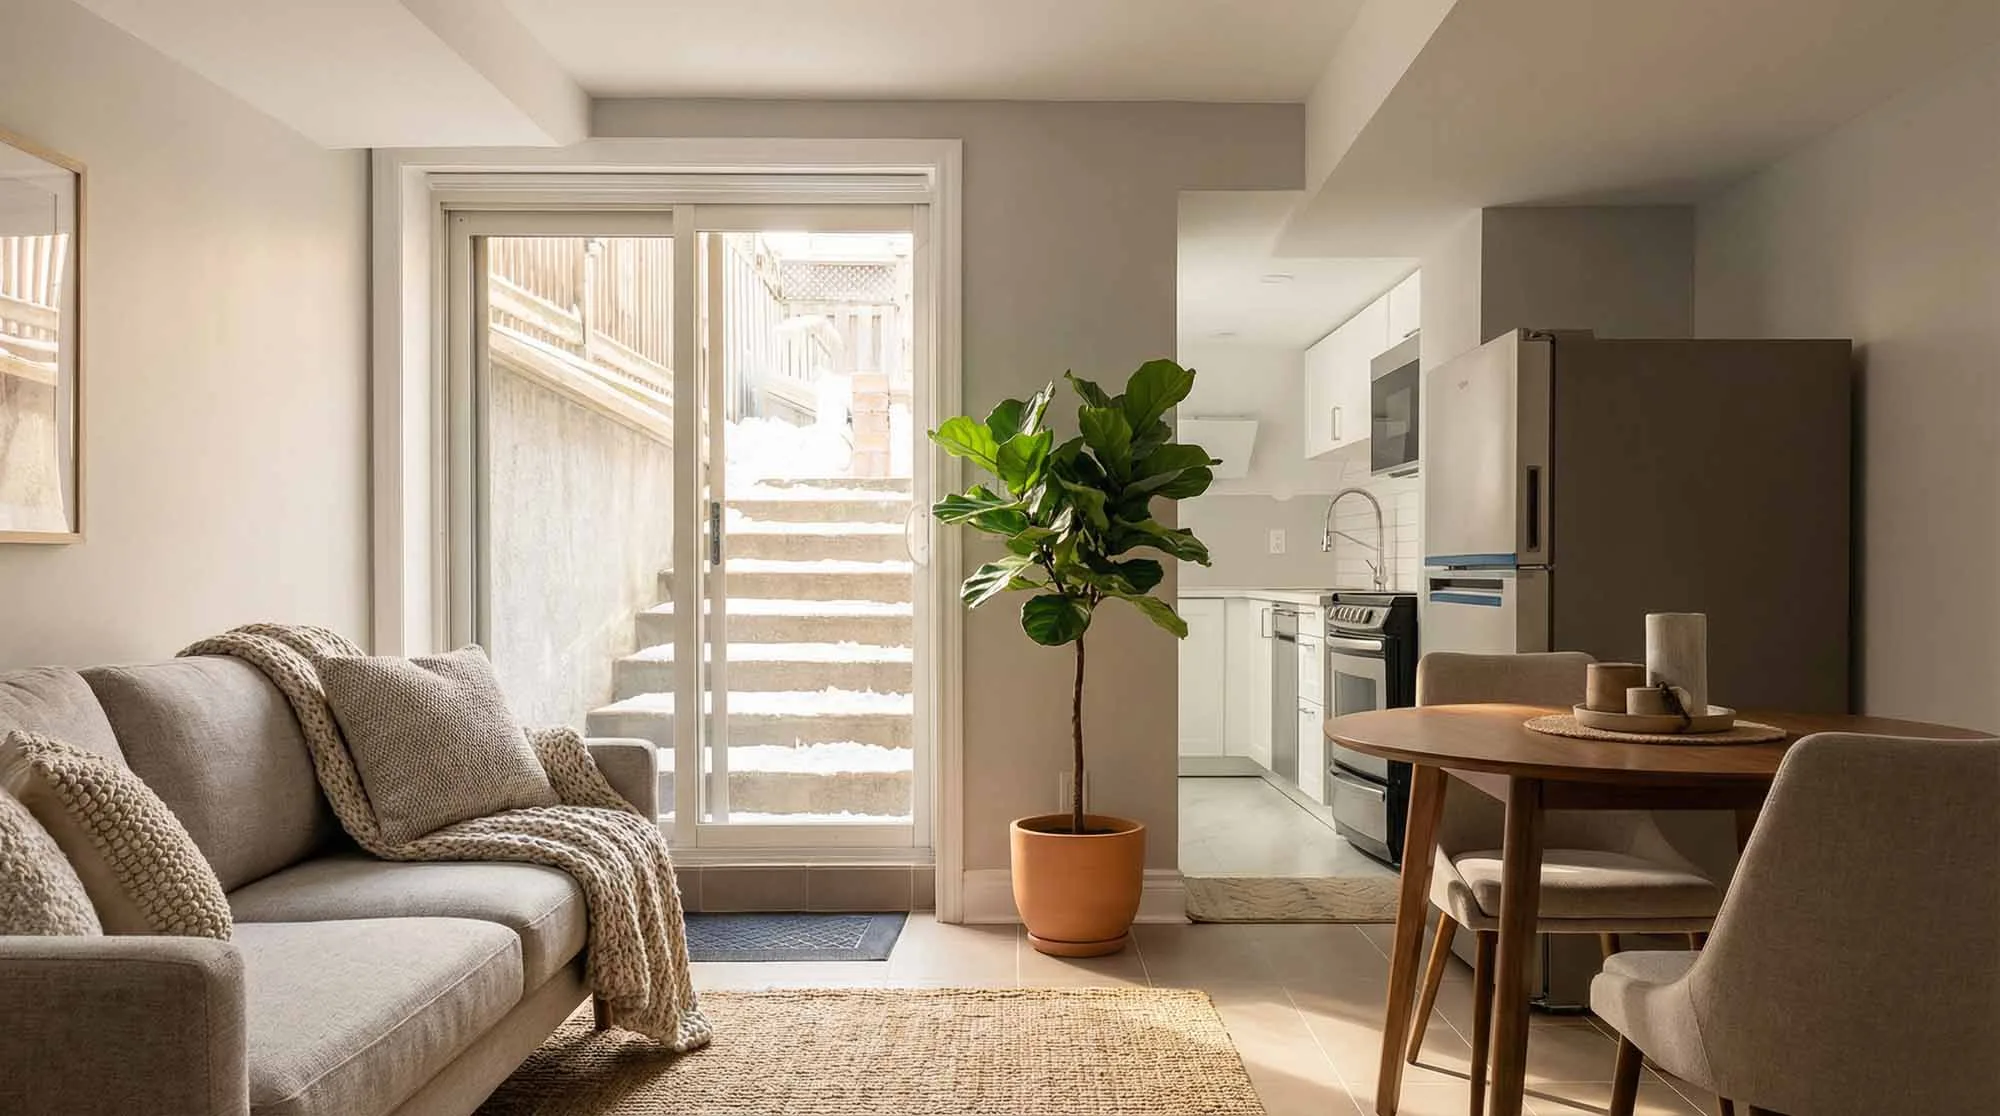
Buyers scroll quickly. The first exterior or hero image must earn the next click, while the remaining photos should explain the layout in a clear, believable sequence. Dark rooms, tilted walls or an inconsistent set create uncertainty. Even when the property is strong, poor presentation can make buyers assume it needs work or is smaller than it really is.
Good listing photography is not about making a home look artificial. It is about presenting the property accurately, attractively and consistently so qualified buyers understand its best features.
1. Photographing Rooms With Poor or Mixed Lighting
One of the most common real estate photography mistakes is relying on a phone’s automatic exposure in a room with bright windows and dark corners. The result may have blown-out window views, muddy shadows, orange lamps and blue daylight in the same frame. A buyer sees a dim, uneven space instead of a bright room.
How to fix it
Open blinds, turn on matching interior lights and photograph at a time when the natural light supports the room. A professional workflow balances several exposures and corrects colour carefully, keeping windows, walls and furnishings natural. Flash can help, but it should not create hard shadows or make the space feel clinical.
2. Shooting Before the Property Is Ready
Photography cannot fully hide clutter, tangled cords, crowded counters, wrinkled bedding or personal items. These distractions pull attention away from the room’s size and purpose. They also increase editing time and can delay delivery.
Before the appointment, clean reflective surfaces, remove small appliances, straighten furniture, replace burned-out bulbs and clear driveways where possible. Our home preparation checklist for real estate photography gives sellers and Realtors a room-by-room plan. A few minutes of preparation usually improves every photo in the set.
3. Crooked Verticals and Extreme Wide-Angle Distortion
When the camera is tilted, walls lean inward and doors appear crooked. An ultra-wide lens held too close to furniture can also stretch the edges of the frame, making rooms look unnaturally large. That may attract an initial click, but it damages trust when the buyer visits.
Use a level tripod at a consistent height, keep vertical lines straight and choose a viewpoint that explains the room rather than exaggerating it. Wide-angle photography should show flow and key features while keeping proportions believable.
4. Publishing an Inconsistent Photo Set
A listing feels less professional when one image is warm, the next is blue, and another is dramatically over-sharpened. Inconsistent camera height, contrast and composition also make it difficult for buyers to understand how rooms connect.
The full gallery should have a shared colour balance, exposure and editing style. A dedicated photographer can also maintain a recognizable visual standard across your listings—valuable for a Realtor building a consistent personal brand in North York, Richmond Hill, Markham, Vaughan or Newmarket.
5. Ignoring Exterior, Neighbourhood and Drone Context
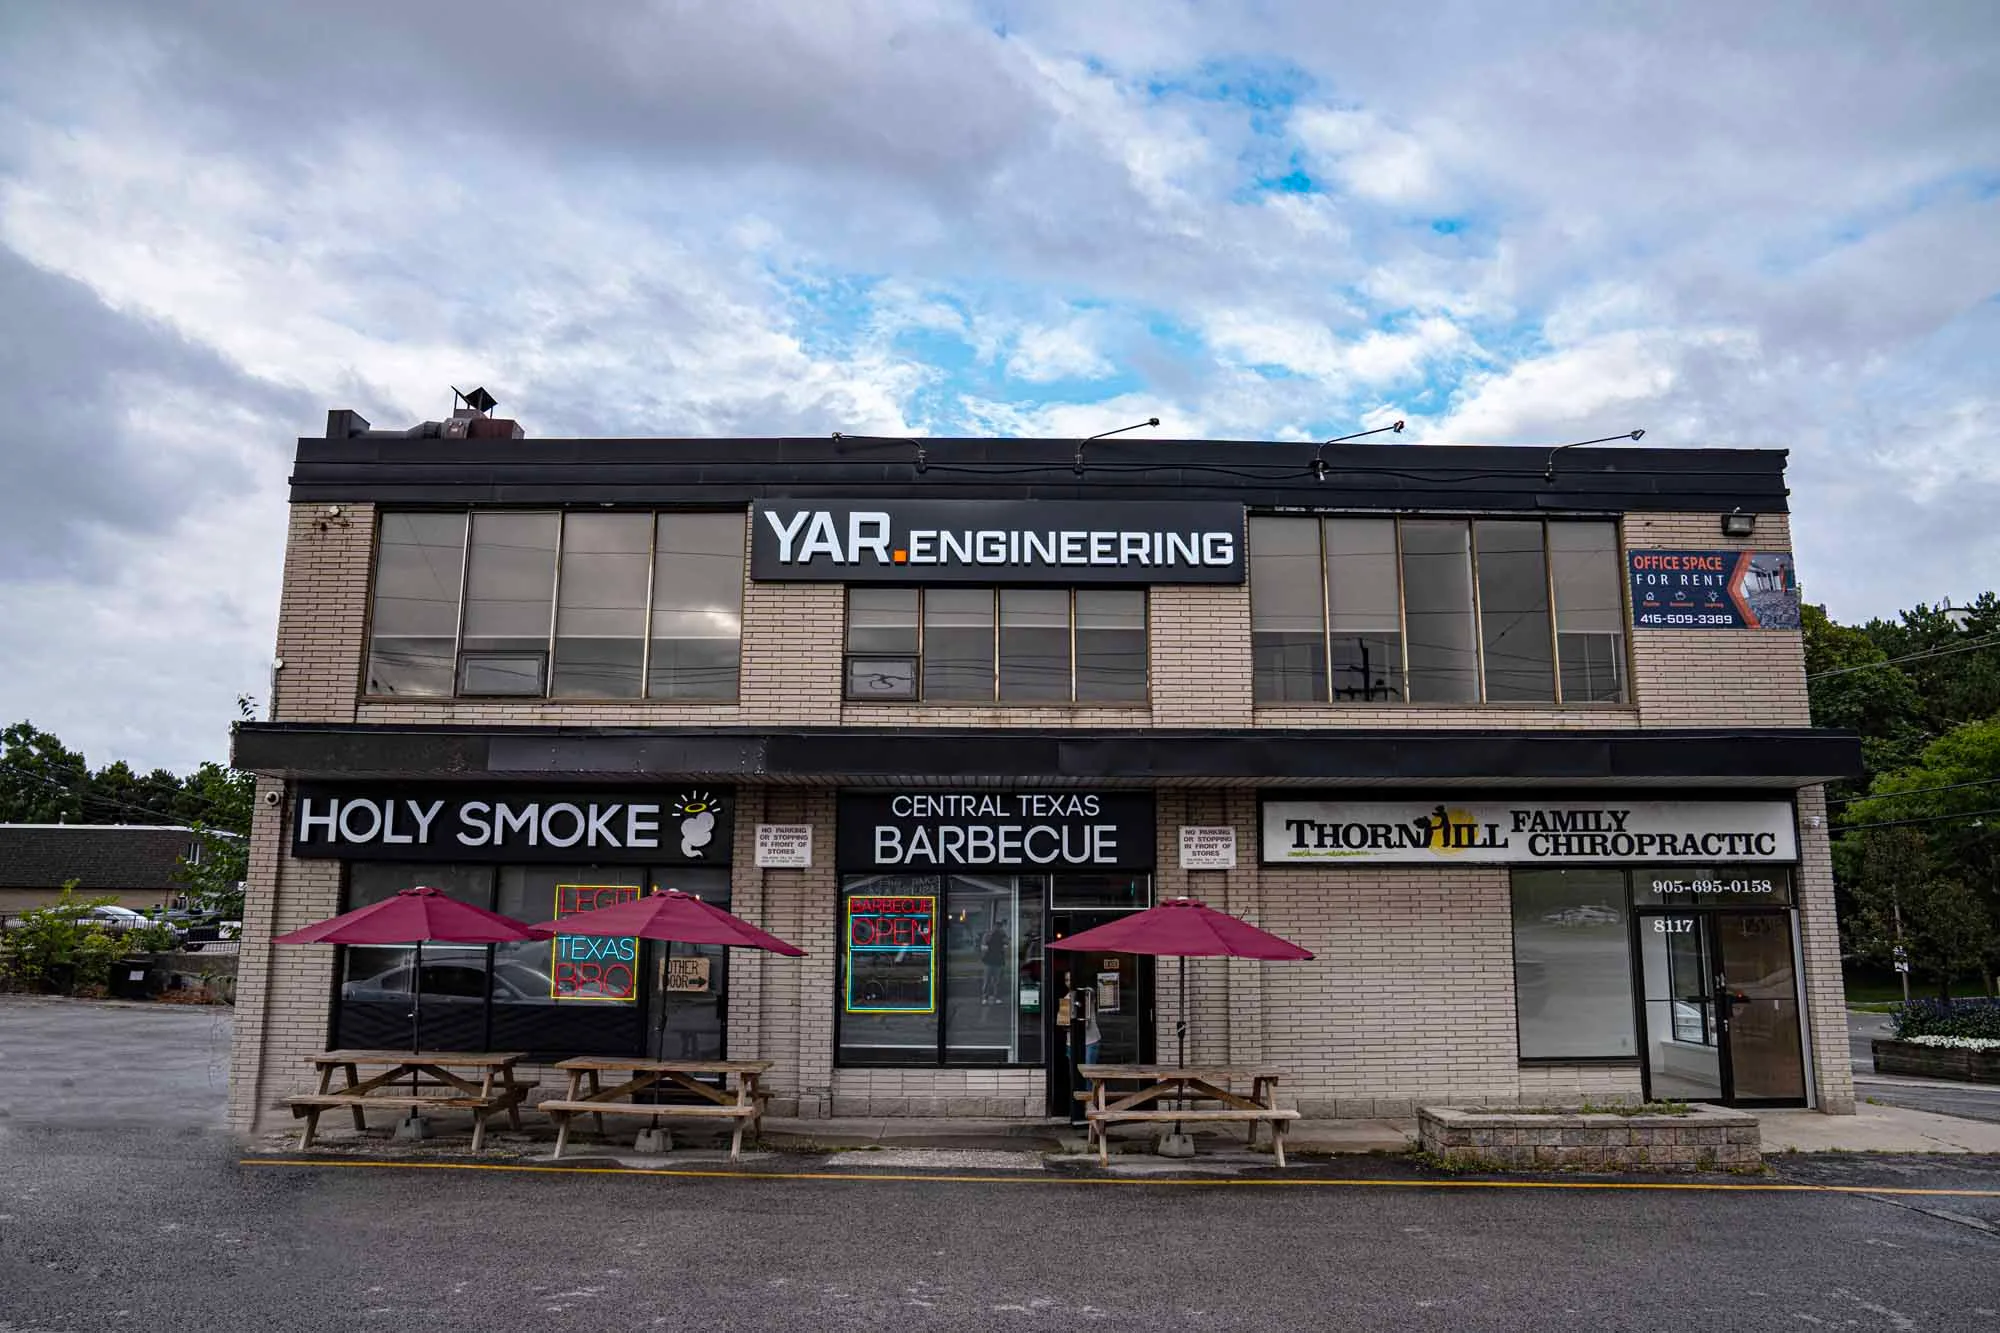
Interior photos alone do not tell the complete story. Buyers want to understand curb appeal, lot size, backyard condition, parking and how the property relates to its surroundings. A weak or missing front exterior can also reduce the impact of the MLS cover image.
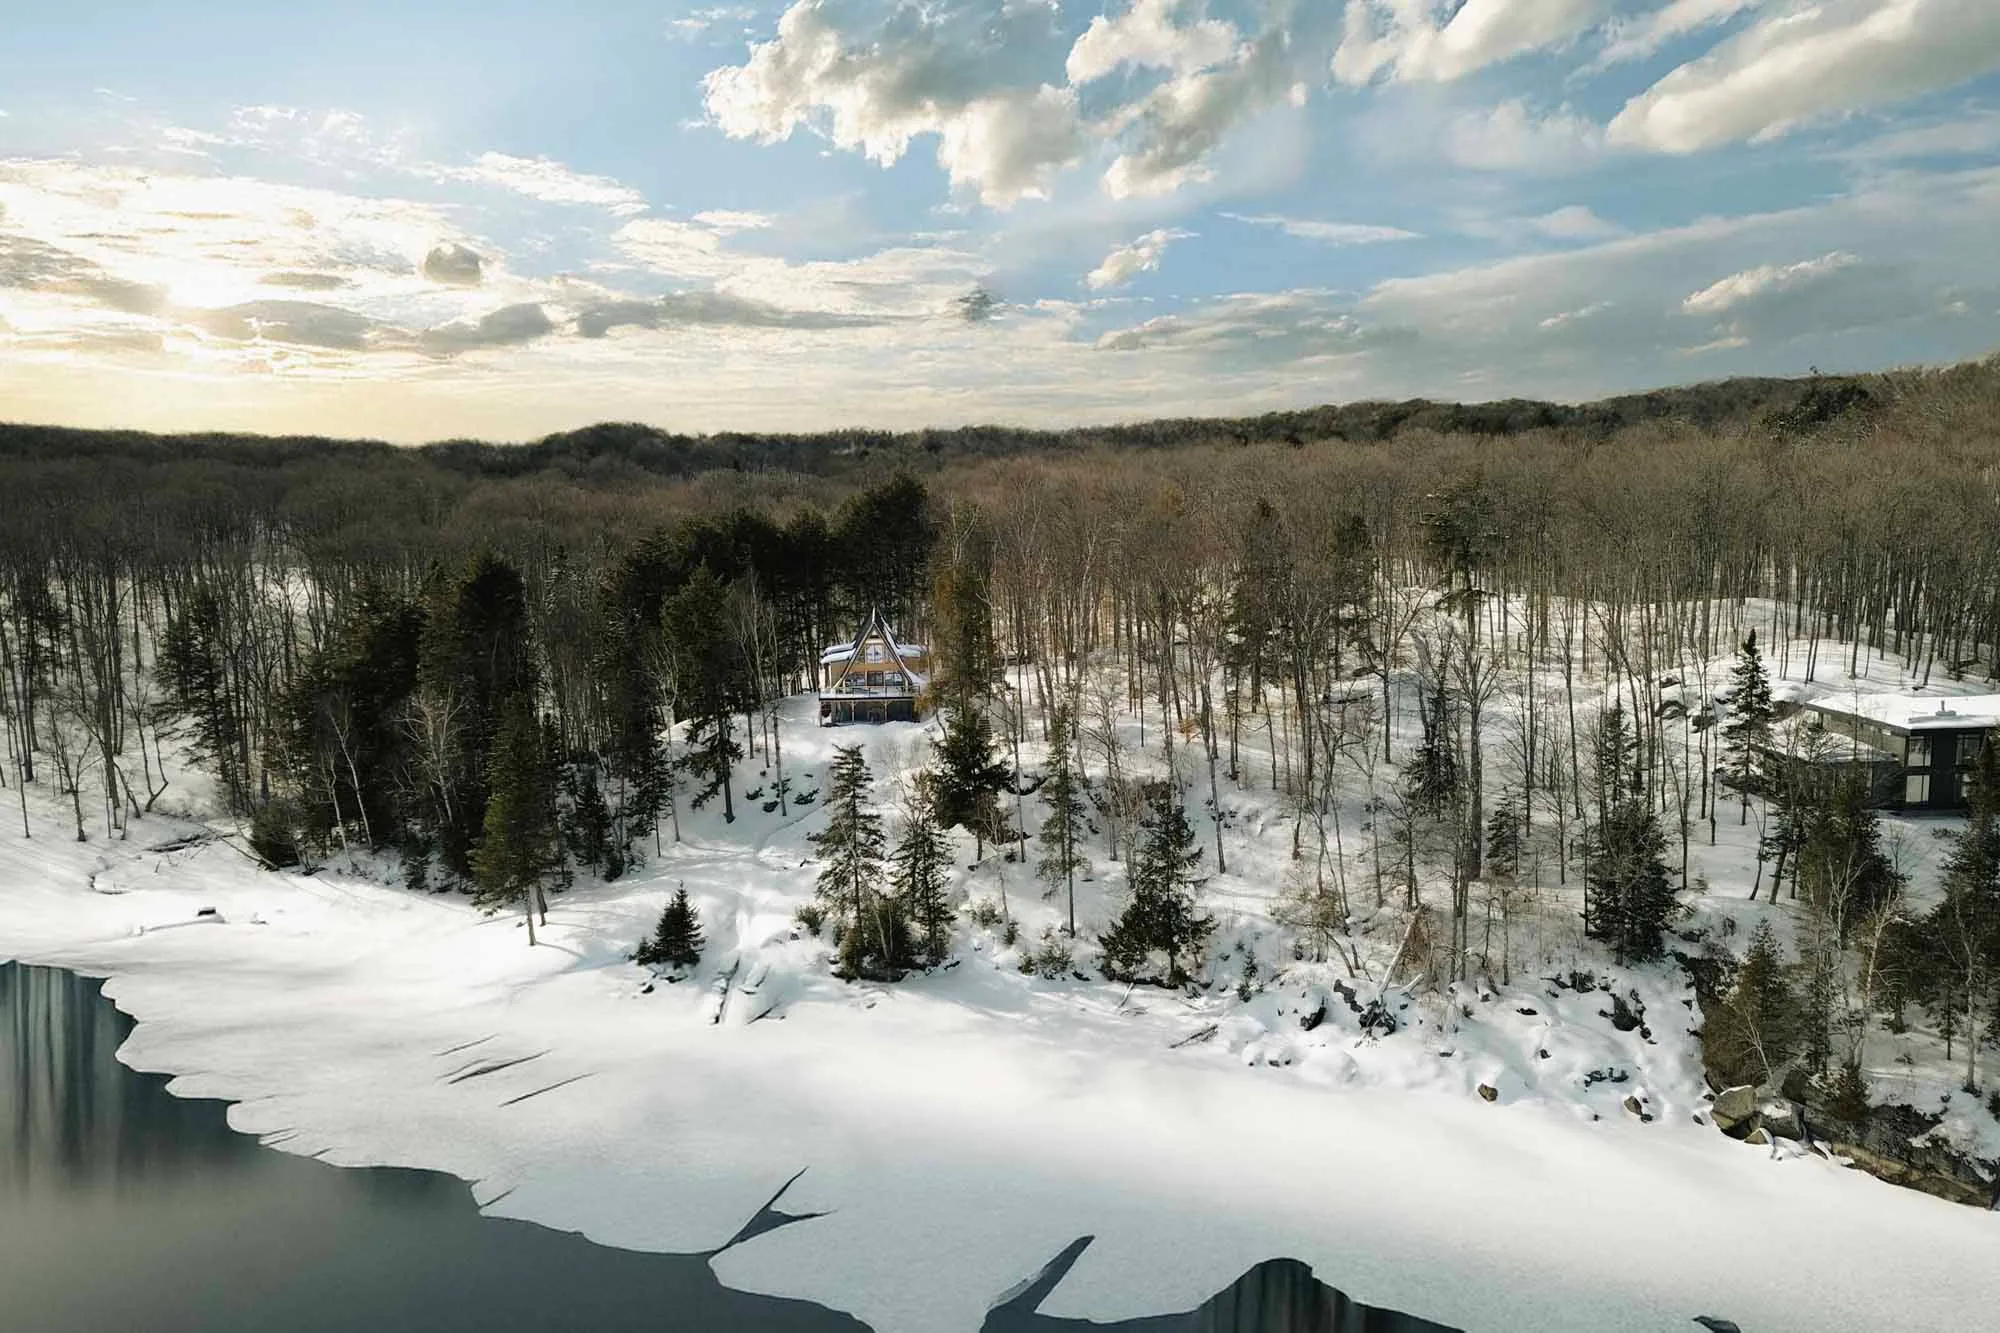
Plan exterior photographs for suitable light and weather, then include important context without photographing irrelevant neighbouring details. For larger lots, waterfront homes, commercial properties or distinctive architecture, aerial images can show information that ground-level photos cannot. Drone coverage should be purposeful and comply with flight and privacy requirements—not added simply because it looks dramatic.
6. Overediting or Using Unrealistic AI Changes
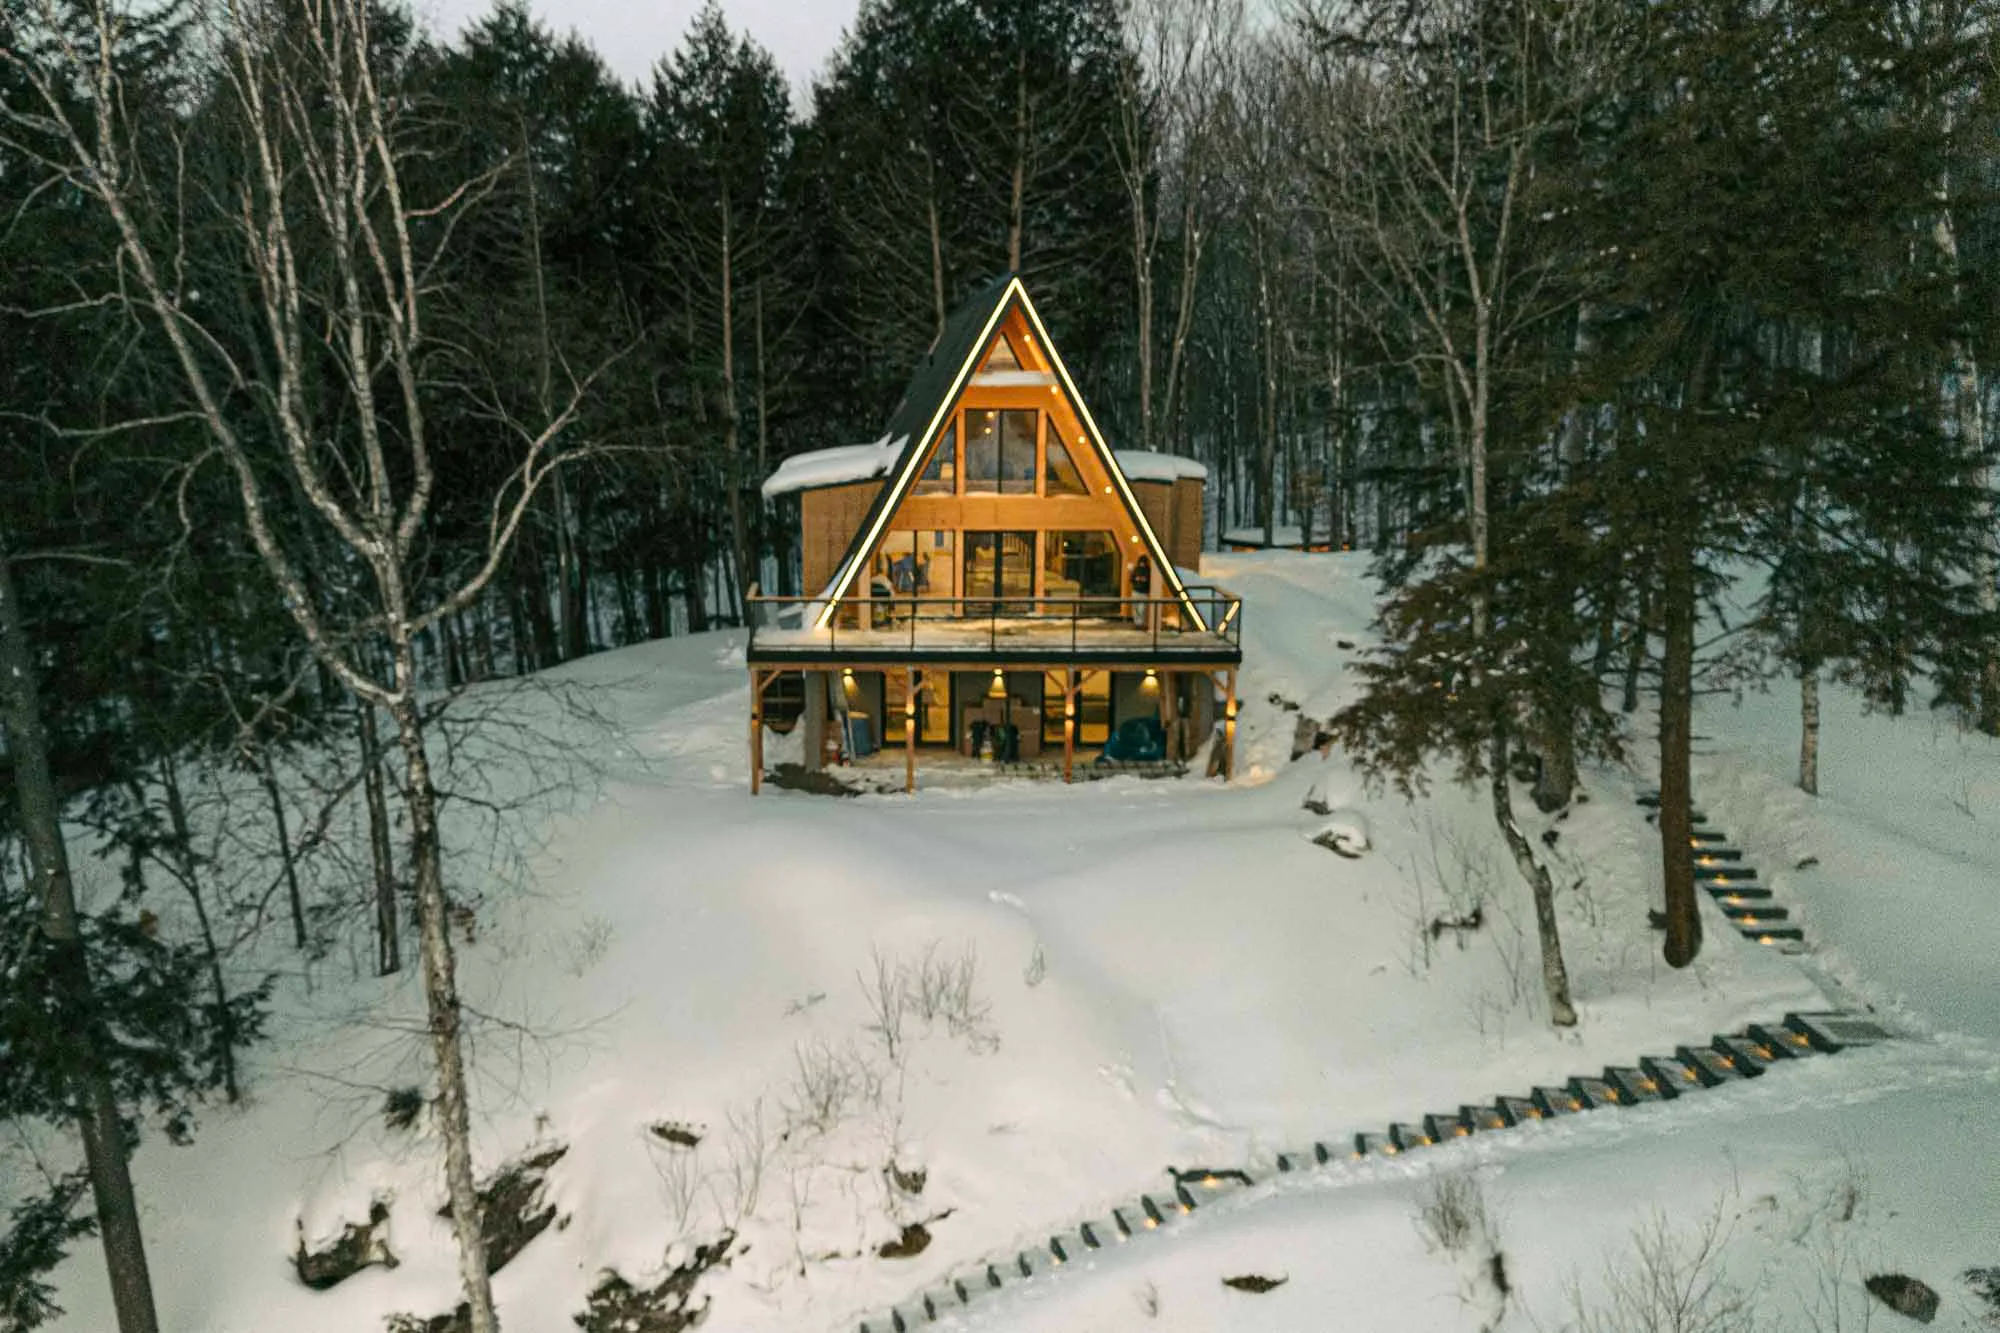
Heavy HDR, oversaturated grass, artificial skies and excessive object removal can turn a listing into something buyers do not recognize in person. Generative AI makes large changes easier, but it also raises disclosure and accuracy concerns.
Editing should correct exposure, colour, perspective and minor distractions while preserving the property’s real condition. If virtual staging or a material AI alteration is used, label it clearly and retain an accurate original where appropriate. Read our guide to responsible AI real estate photo editing for a practical Toronto-focused approach.
7. Using the Wrong Photo Order for MLS
A complete set can still underperform if the strongest images are buried or the order jumps randomly between floors. The first image should be the best truthful representation of the listing—often the front exterior, a signature living space or a view. After that, guide the buyer through the property in a logical sequence.
Start with the major selling points, group related rooms, and finish with exterior, amenities and neighbourhood context. Avoid opening with a detail shot, bathroom or hallway unless it is genuinely the defining feature of the property.
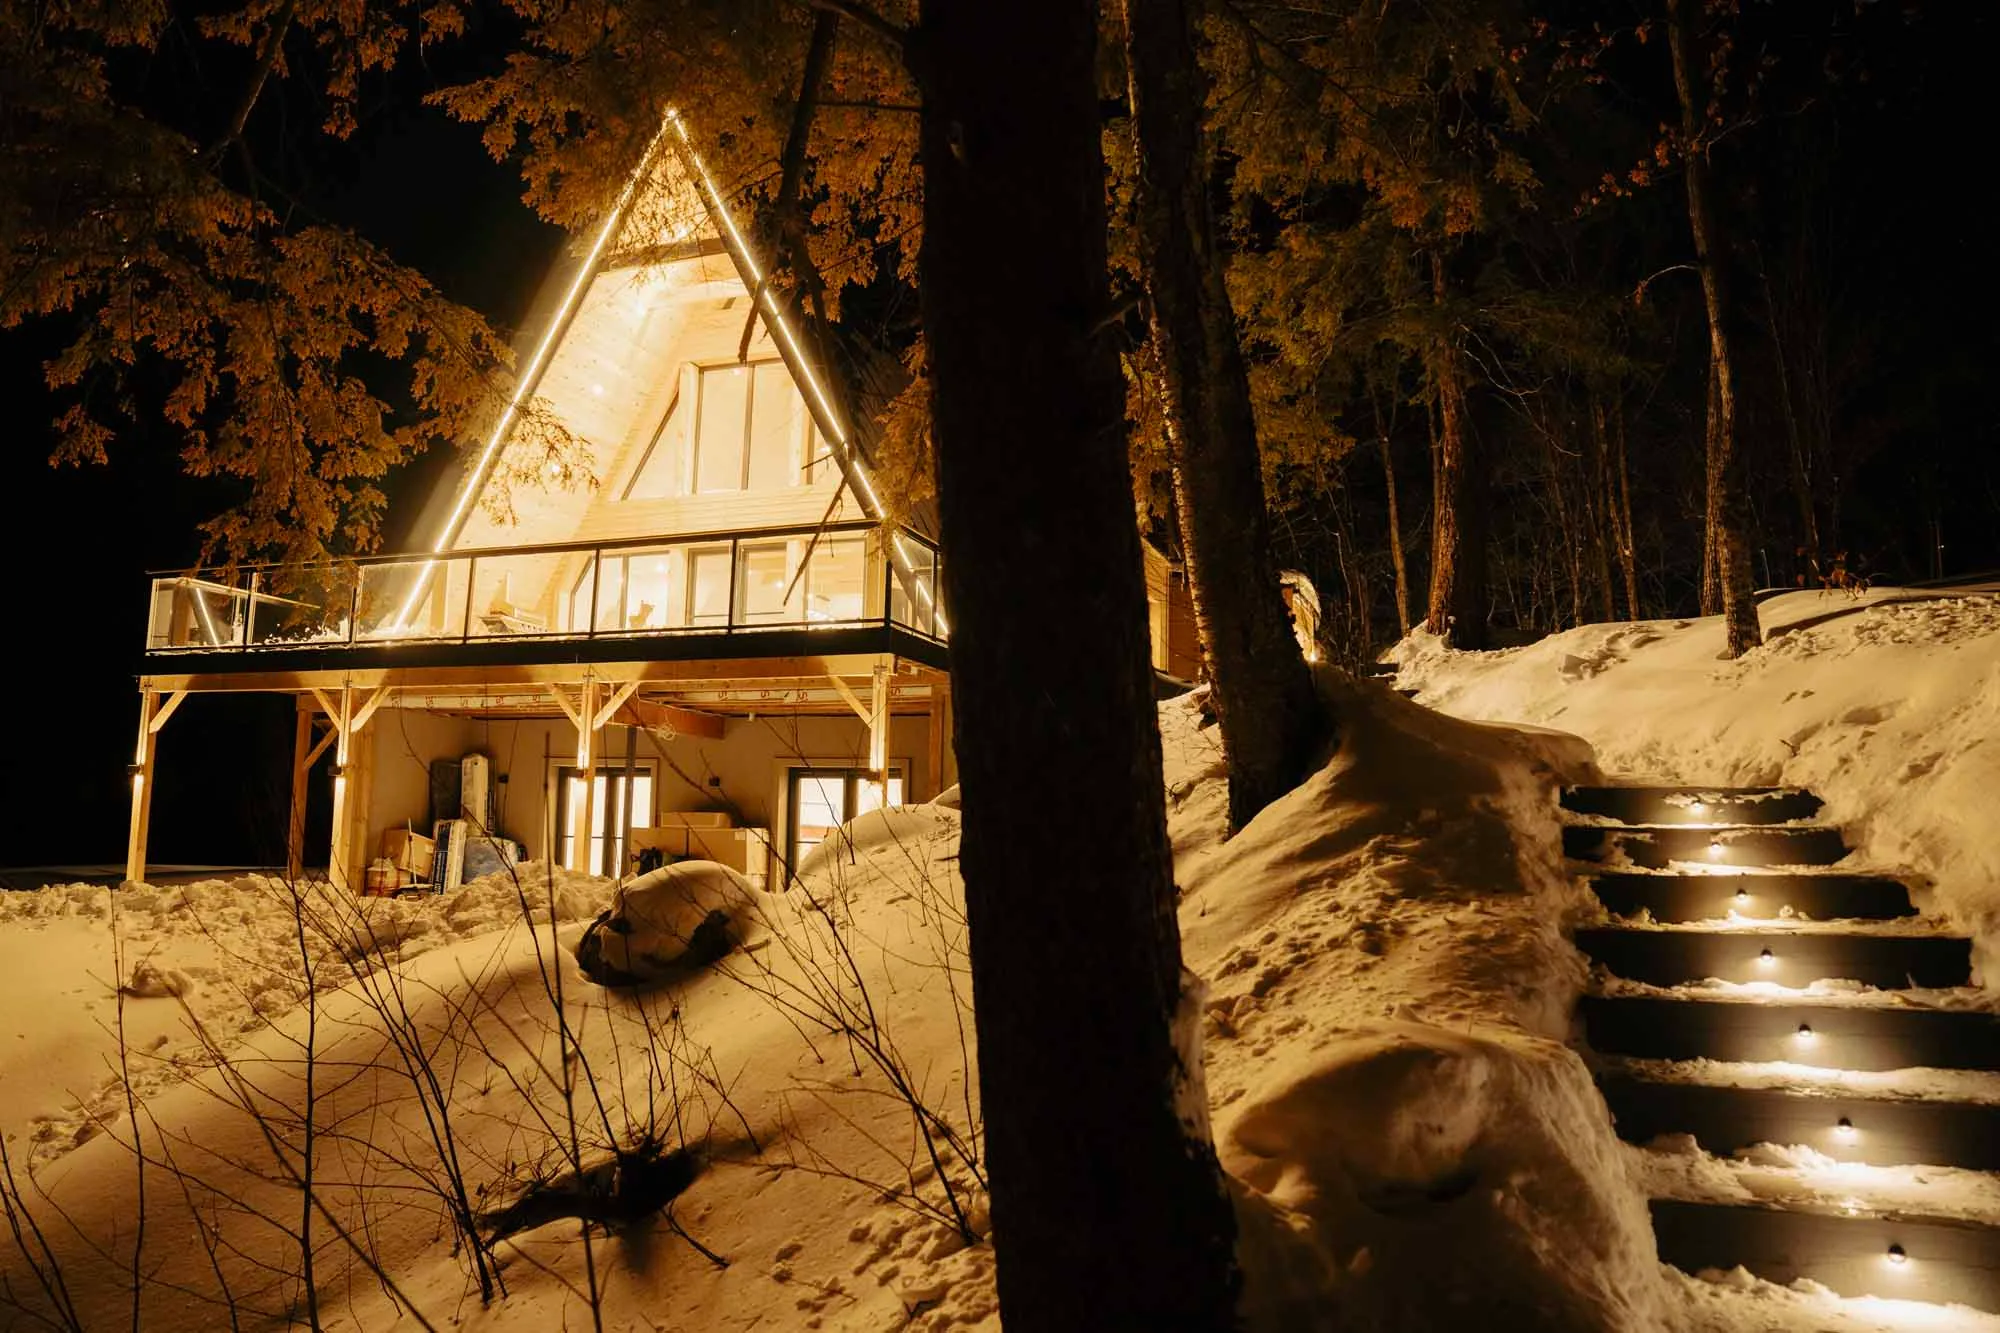
Good vs Bad Real Estate Photos: A Quick Checklist
- Lighting: balanced interiors and visible windows, not dark corners or blown highlights.
- Preparation: clean, decluttered rooms with distractions removed before the shoot.
- Composition: straight verticals, useful viewpoints and realistic room proportions.
- Consistency: one colour, exposure and editing standard across the entire set.
- Accuracy: polished images that still represent the property honestly.
- Coverage: interiors, exteriors and relevant amenities, with aerial context when it adds value.
- Sequence: a strong cover image followed by a clear visual walk-through.
A Better Photography Workflow for Realtors
A repeatable process protects both quality and turnaround time. Confirm the property’s key selling points, share a preparation checklist with the seller, and identify any weather-sensitive exterior or drone needs before the appointment. During the shoot, capture a complete sequence at consistent heights and verify important rooms before leaving.
Afterward, use realistic editing, export files at the correct MLS and web sizes, and deliver them in a clear order. If you need predictable costs, compare our Toronto real estate photography prices and listing media packages.
Frequently Asked Questions
Can a Realtor use a phone for listing photos?
A modern phone can document a simple space, but difficult window light, small rooms and colour consistency remain challenging. Professional equipment and controlled editing generally produce a more reliable MLS set, especially for competitive or higher-value listings.
Should real estate photos make rooms look bigger?
Photos should make the layout easy to understand, not misrepresent dimensions. A suitable wide-angle lens, level camera and good composition can show the space clearly without extreme stretching.
How many photos should a listing include?
The right number depends on the property and platform limits. Every useful room and selling feature should be covered, but repetitive angles can weaken the set. Quality, order and completeness matter more than filling a fixed quota.
Is drone photography necessary for every property?
No. Drone photography is most useful when it explains a large lot, waterfront, nearby amenities, development context or distinctive architecture. For many condos and standard urban homes, strong ground-level photography may be enough.
Book Real Estate Photography in Toronto and the GTA
Green Day Photography creates consistent listing photography, video, floor plans, virtual tours and aerial coverage for Realtors and property professionals across Toronto and the GTA. Explore our real estate portfolio, including local service information for Richmond Hill and Markham.
Ready to plan the next listing? Contact Green Day Photography with the property type, location and preferred date.
Add a Comment