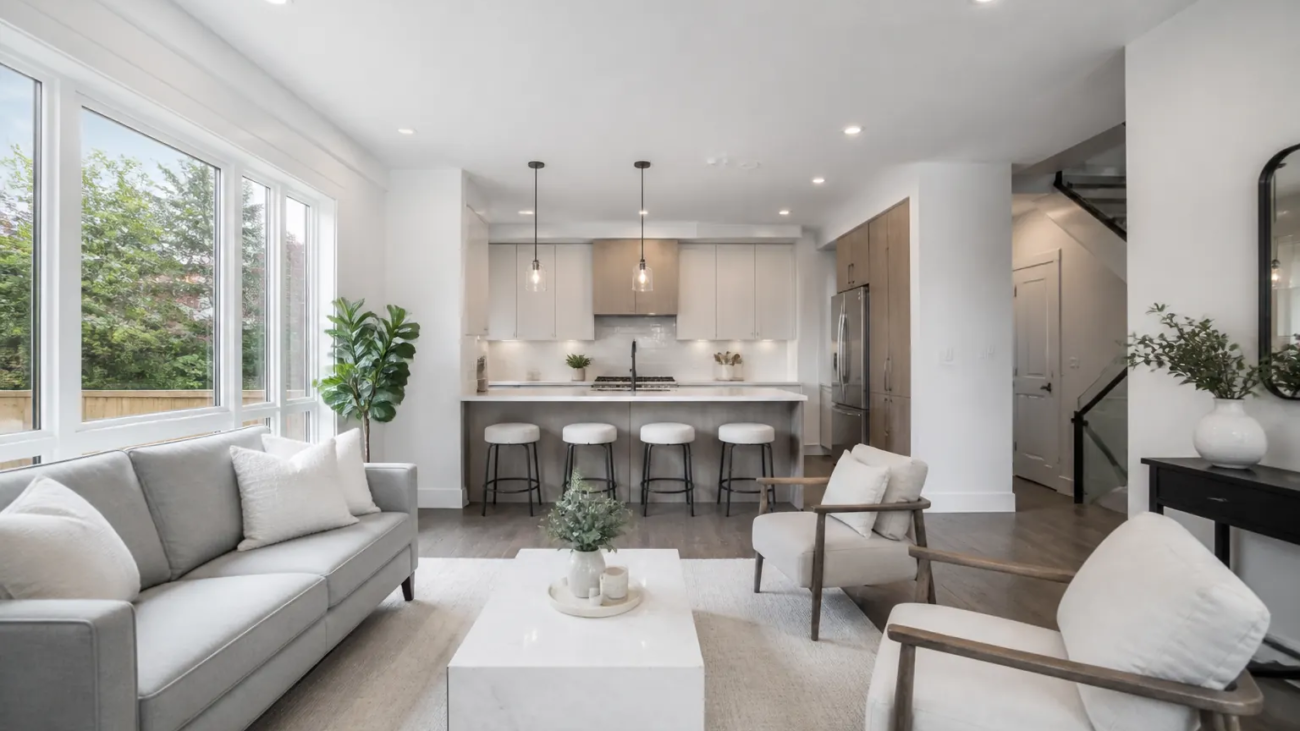
Great real estate photos do more than make a home look attractive—they help buyers understand the space, notice its strongest features and decide whether to book a showing. The good news is that better listing photos usually come from a repeatable process, not from an expensive camera alone. These ten real estate photography tips cover preparation, lighting, composition and editing so you can create cleaner, more credible images for a property listing.
If you are preparing a Toronto or GTA property and would rather have the entire shoot handled for you, explore our professional real estate photography services in Toronto, including MLS-ready photos, video, drone coverage, floor plans and virtual tours.
Quick Real Estate Photography Checklist
- Declutter every room and remove personal items.
- Clean windows, mirrors, counters and reflective surfaces.
- Replace burned-out bulbs and match bulb colour temperatures where possible.
- Open blinds and curtains, then check the view outside each window.
- Use a tripod and confirm that vertical lines are straight.
- Photograph the exterior, main living areas, bedrooms, bathrooms and important features.
- Keep edits natural and do not hide permanent defects or misrepresent the property.
10 Tips for Taking Professional Real Estate Photos
1. Declutter, Clean and Stage Before You Shoot
Preparation has a bigger effect on the final image than most camera settings. Clear kitchen counters, remove magnets and paperwork from the refrigerator, hide cables and bins, straighten bedding and towels, and put away personal photographs. The goal is not to make the property feel empty; it is to help viewers see the size, layout and purpose of each room without visual distractions.
Use a few simple staging elements—a plant, neutral cushions or a tidy place setting—but avoid overfilling small rooms. Before moving on, scan the edges of the frame for items that are easy to miss, including cleaning supplies, open toilet lids, pet bowls and reflections of the camera.

2. Choose the Best Time of Day
Schedule the shoot when the property receives flattering, even light. Harsh direct sun can create deep shadows and blown highlights, while a very dark day can make interiors look flat. Late morning or early afternoon often works well, but the ideal time depends on the direction the main windows and front of the house face.
For exterior photos, avoid placing the sun directly behind the home unless you are prepared to bracket exposures carefully. If the backyard, view or balcony is a major selling point, plan enough time to photograph it in its best light as well.
3. Control Natural and Artificial Light
Open curtains and blinds to bring in daylight, then decide whether the room lights improve the scene. Turning on every bulb can create mixed colour casts—blue daylight, warm lamps and greenish fixtures in one frame. If the bulbs do not match, either photograph with the lights off and use window light or correct the colour carefully during editing.
Watch the windows. A room should look bright, but the outdoor view should not become a featureless white rectangle. Exposure bracketing can preserve both interior and window detail when the brightness difference is too large for one frame.
4. Use a Tripod and Keep the Camera Level
A tripod keeps images sharp at slower shutter speeds and makes the height and framing consistent from room to room. More importantly, it helps you level the camera. When the camera tilts upward or downward, walls appear to lean and rooms can look distorted.
Start around chest height—usually about 1.2 to 1.5 metres—and adjust for the room. Lower the camera slightly in a bedroom so the bed does not dominate the frame; raise it a little in a kitchen when you need to show the counters. Use the camera grid or a small bubble level to keep vertical lines straight.

5. Shoot Mostly Landscape, Not Only Vertical
Landscape orientation is usually the safest choice for MLS galleries, real estate websites and wide room layouts. It shows how spaces connect and uses screen width effectively. Vertical images can still be useful for tall architectural details, social media or a narrow feature, but they should complement—not replace—the main horizontal set.
Leave enough room around furniture and avoid ultra-wide distortion that stretches objects near the edges. A wide-angle lens is useful, but the photograph should still represent the room honestly.
6. Compose Each Room to Explain the Layout
Choose angles that help viewers understand where doors, windows and adjoining rooms are located. A corner angle often creates depth, but standing in a doorway can work better when it reveals the flow into the next space. Include two walls when possible and avoid letting a door frame or large piece of furniture block the view.
Create one strong “hero” view for each important room, then add a second angle only when it reveals information the first photograph cannot. More images are not automatically better; a concise set of useful views is easier for buyers to follow.
7. Photograph the Exterior and Key Features
The front exterior is often the first image buyers see. Move bins, hoses and vehicles when possible, sweep the entry, close garage doors and check that outdoor furniture is arranged neatly. Photograph the front facade, backyard and any feature that adds value, such as a renovated kitchen, fireplace, home office, finished basement or view.
Do not forget the neighbourhood context when it is genuinely relevant, but avoid photographing private people, licence plates or neighbouring interiors. For larger properties, aerial coverage can clarify lot size and location; review our Toronto real estate photography packages and pricing to compare photo, video and drone options.

8. Bracket Exposures When the Light Is Difficult
Bright windows and darker interiors can exceed the camera’s dynamic range. Exposure bracketing records several frames from the same tripod position—typically a darker frame for highlights, a balanced frame and a brighter frame for shadows. These can be blended into a natural-looking result.
Keep the camera and furniture still between frames. The finished photograph should look believable, with clean window detail and open shadows, rather than the crunchy contrast and glowing edges associated with excessive HDR.
9. Edit for Accuracy, Not Exaggeration
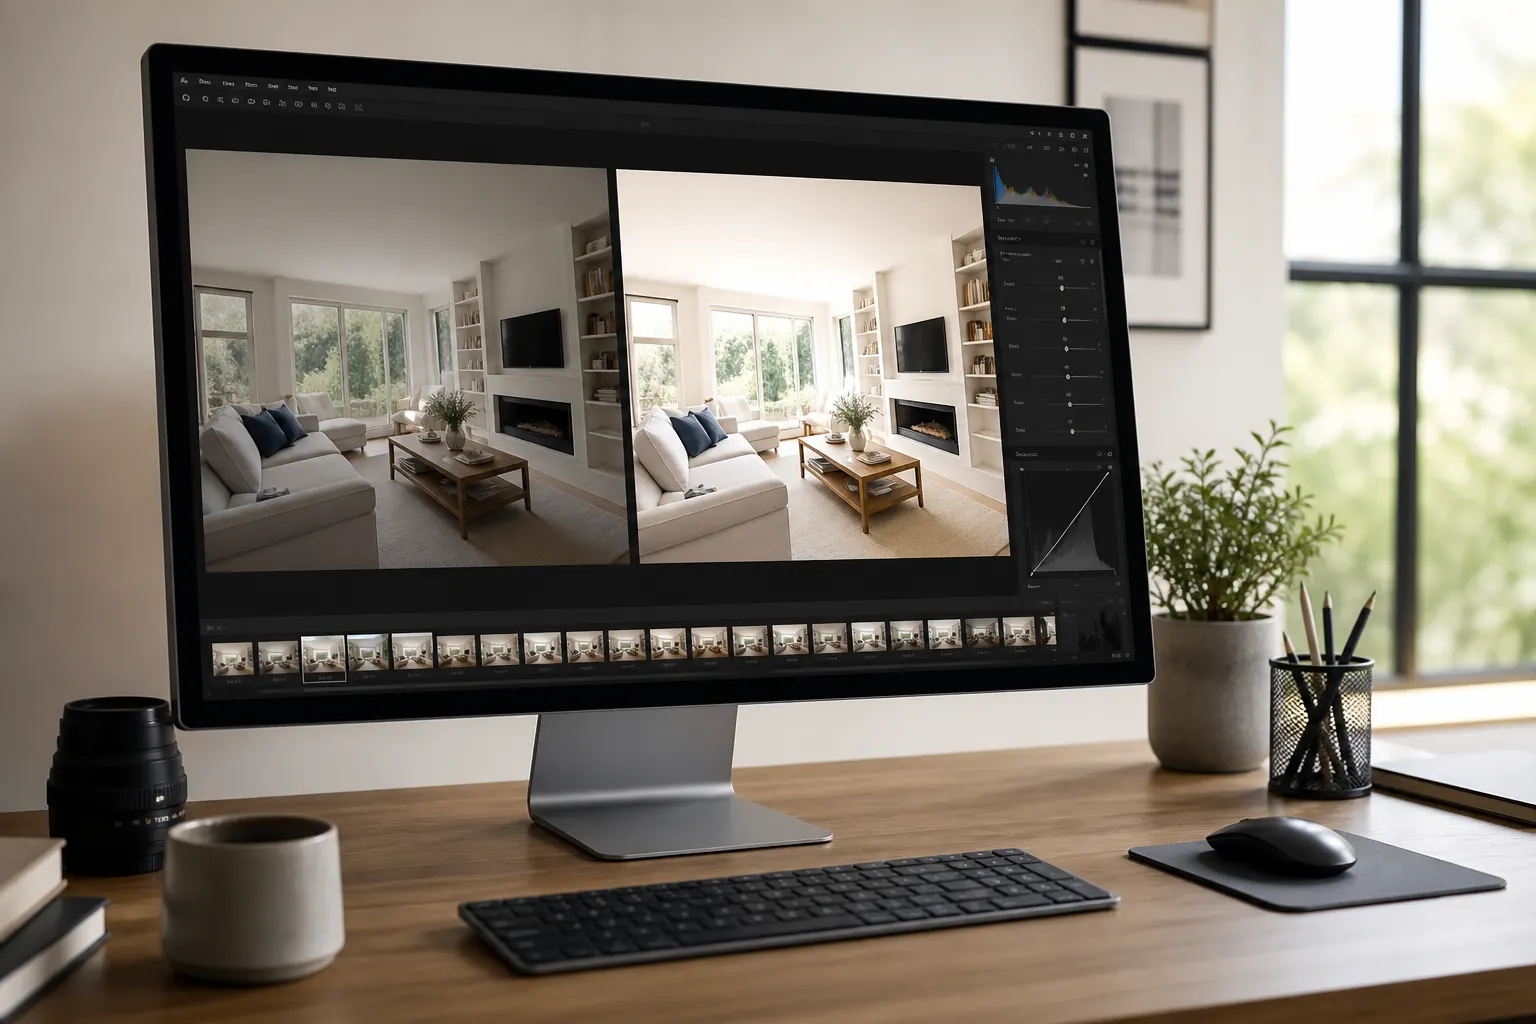
Professional editing should correct white balance, exposure, lens distortion, perspective and minor distractions while preserving an honest view of the property. Keep wall colours accurate, recover window detail where possible and check that whites do not turn blue or yellow.
Avoid stretching rooms, replacing permanent features or removing defects that would materially change a buyer’s understanding of the home. The objective is a polished and inviting image that remains credible. You can see examples of consistent framing and natural edits in our real estate photography portfolio.
10. Deliver a Consistent, MLS-Ready Set
Before exporting, review the gallery as a sequence. Start with the strongest exterior or main living-space image, group rooms logically and remove near-duplicates. Use consistent brightness, colour and aspect ratio across the entire set, then export web-ready files that meet the listing platform’s current requirements.
Check every image at full size for blur, reflections, colour problems and missed distractions. A short quality-control pass is often the difference between a collection of individual photos and a professional listing package.
Common Real Estate Photography Mistakes to Avoid
- Using an extremely wide lens that makes rooms look misleadingly large.
- Tipping the camera and leaving walls visibly leaning.
- Mixing different bulb colours without correcting the cast.
- Leaving clutter, reflections or the photographer visible in the frame.
- Publishing too many repetitive angles.
- Applying heavy HDR, oversaturation or unrealistic sky replacements.
- Forgetting exterior, utility or feature images requested by the seller or agent.
Should You Take the Photos Yourself or Hire a Professional?
DIY photography can work for practice, documentation or a simple rental listing when you have time to prepare, reshoot and edit. A professional is usually the better choice when the property is entering a competitive market, the schedule is tight, the rooms have difficult lighting, or the marketing plan also needs video, drone photography, floor plans or a 3D tour.
Green Day Photography serves Toronto and surrounding GTA communities, including dedicated real estate photography in Markham and real estate photography in Richmond Hill. If your listing is ready, contact us to plan the shoot and confirm the right package for the property.
Frequently Asked Questions
What camera settings are best for real estate photography?
Use a low ISO for clean files, an aperture around f/7.1 to f/11 for useful depth of field and a tripod so the shutter speed can vary without causing blur. The exact settings depend on the room, lens and available light, so check the histogram instead of relying on one fixed formula.
Should all the lights be on for real estate photos?
Not always. Lights can make a room feel welcoming, but mismatched bulbs create difficult colour casts. Use them when they improve the room and have a consistent colour; otherwise, strong natural light with the fixtures off may produce a cleaner result.
How many photos should a real estate listing include?
The right number depends on the property and listing platform. Include enough images to explain the layout and important features without filling the gallery with repeated angles. A focused, consistent set is more useful than a high photo count with little new information.
How long does professional real estate photography take?
A standard photo session may take roughly 45 to 90 minutes, depending on property size, preparation and the services ordered. Video, drone, floor plans or Matterport coverage usually require additional time.
Final Thoughts
The strongest listing photos come from careful preparation, controlled light, honest composition and consistent editing. Follow the same checklist for every room, keep the camera level and show the property clearly. If you need polished, MLS-ready visuals for a Toronto or GTA listing, Green Day Photography can handle the complete production from photos to video, drone coverage and floor plans.
Add a Comment