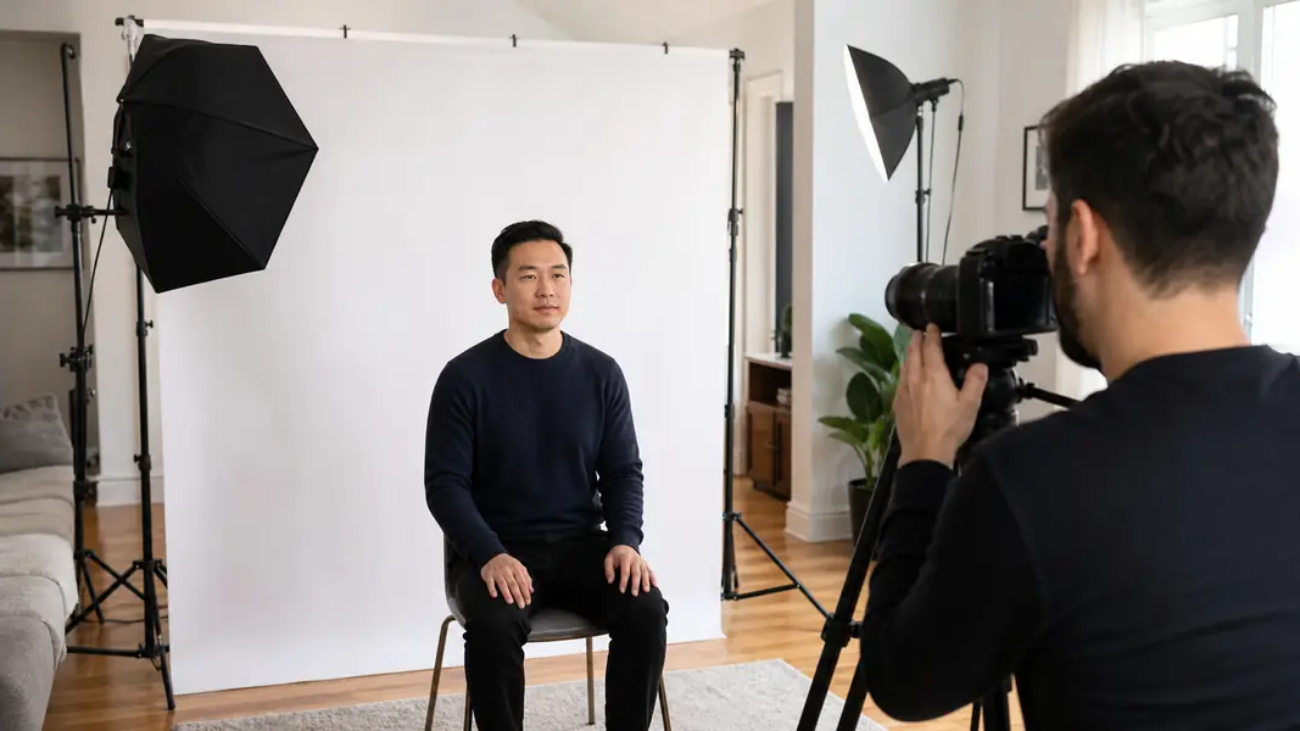
A good Canadian passport photo starts with correct camera position, even lighting and accurate framing—but for an official application, the process is not simply a phone selfie and a home printer. For paper applications, the Government of Canada requires the photo to be taken in person by a commercial photographer or photo studio. Eligible online renewals also require an original digital file from a photographer.
This 2026 guide explains the camera setup behind a natural-looking, compliant result and shows what can—and cannot—be completed at home. If travelling to a studio is difficult, a professional photographer can bring the complete setup to your home.
Can You Take Your Own Passport Photo at Home in Canada?
For a printed Canadian passport application, no. The official requirements say the photograph must be taken in person by a commercial photographer or photo studio, professionally printed on photographic paper and left unaltered. Home-printed photos are not accepted.
For an eligible online passport renewal, you upload a digital photo instead of mailing prints. However, that file must still come from the original image captured by a photographer, and you must provide the photographer or studio name, address and date the photo was taken. A phone can be useful for checking posture or lighting before an appointment, but it should not be treated as a substitute for the required professional workflow. See our separate answer to whether passport photos can be taken at home in Canada.
The Best Camera Position for a Passport Photo
The camera should be level with the subject’s face and aimed straight ahead. If it is too high, too low or off to one side, the face and shoulders can appear tilted. The subject should sit or stand upright, face the lens directly and keep both shoulders square to the camera.

Lens choice and camera distance
Canada does not prescribe a particular lens or camera-to-subject distance. What matters is the finished image. In practice, photographers avoid placing a wide-angle lens close to the face because it can exaggerate the nose and change facial proportions. A moderate telephoto perspective—often around 70–105 mm on a full-frame camera, or an equivalent field of view on another camera—usually produces a more natural result.
- Keep the camera at approximately eye level.
- Move the camera farther back instead of using a close wide-angle view.
- Keep the sensor plane parallel to the background.
- Use a tripod or stable support so the frame does not shift.
- Capture the full head and upper shoulders with extra room for the final crop.
Lighting: Even, Neutral and Free of Shadows
Passport lighting should reveal the face clearly without changing natural skin tone. Harsh side light, overhead household lighting and direct on-camera flash can create shadows, glare or bright reflections. A professional setup uses soft, balanced light from the front and controls the distance between the subject and background.
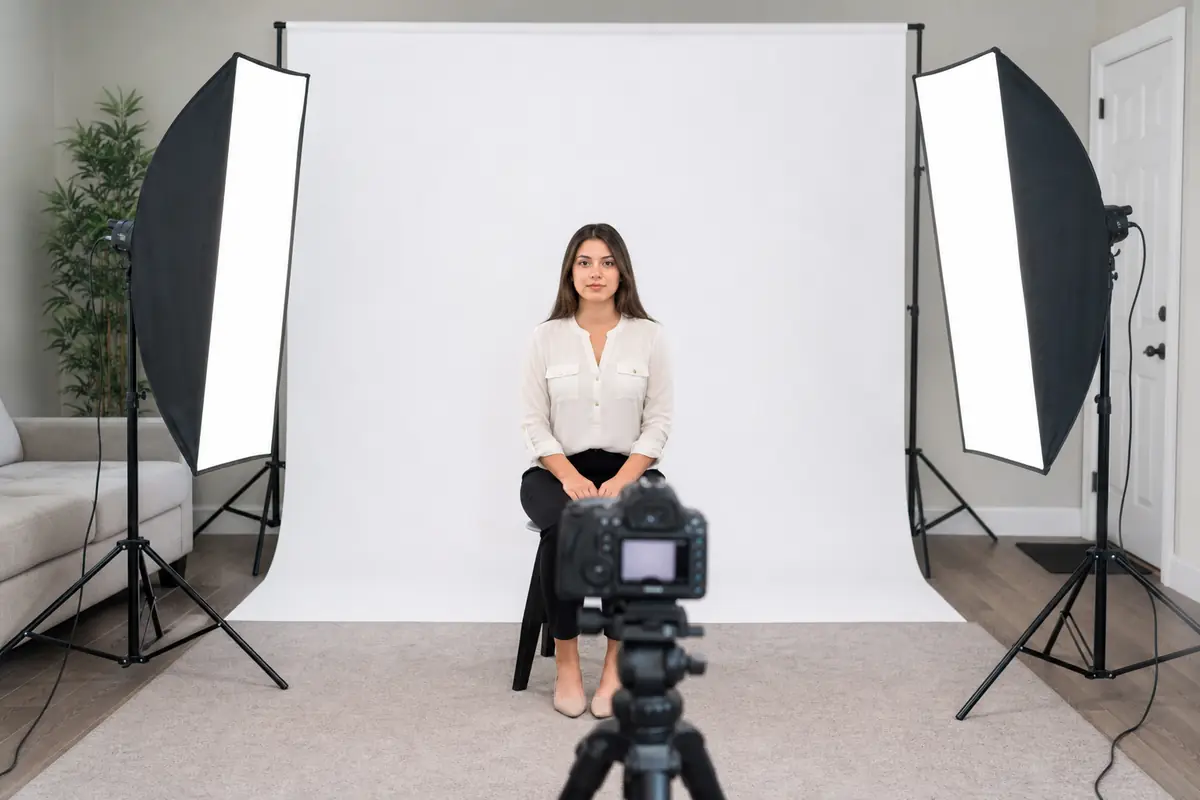
- Use a plain white or light-coloured background with clear contrast around the face and hair.
- Avoid shadows behind the ears, head or shoulders.
- Avoid glare, flash reflections and mixed colour temperatures.
- Do not wear white if it blends into the background.
- Do not smooth skin, replace the background or use AI editing.
Clothing, glasses and makeup can also affect the result. Review our guides on what to wear for a Canadian passport photo, glasses in passport photos and passport-photo makeup rules before the session.
Canadian Passport Photo Size and Framing
For printed adult and child passport applications, the finished photo must be 50 mm wide by 70 mm high—equivalent to 2 inches by 2¾ inches, not 2 by 2 inches. The distance from the bottom of the chin to the crown of the head must measure between 31 mm and 36 mm.
- The face and shoulders must be centred and square to the camera.
- The eyes must be open and clearly visible.
- The mouth must be closed with a neutral expression and no smile.
- The image must be clear, sharp, in focus and no more than six months old.
- Two identical, unaltered prints are required for a paper application.
For a more detailed measurement guide, see Canadian passport photo size: 50×70 mm and digital specifications. Our broader Canadian passport photo requirements guide covers expression, appearance and common rejection risks.
Printed Photos vs. Online Passport Renewal in 2026
Printed application
A paper application needs two identical professional prints. On the back of one photo, the photographer must write or stamp the date, studio name and complete address. Depending on the application type, a guarantor may also need to certify and sign one photo.
Eligible online renewal
The digital requirements are different from the printed 50×70 mm format. The original file must be JPEG or JPG, portrait-oriented at a 3:2 ratio, between 200 KB and 5 MB, and between 1,200×1,800 and 3,000×4,500 pixels. The chin-to-crown measurement must occupy 45% to 50% of the image height. The photographer should provide the original captured file rather than a scan or photograph of a printed picture.
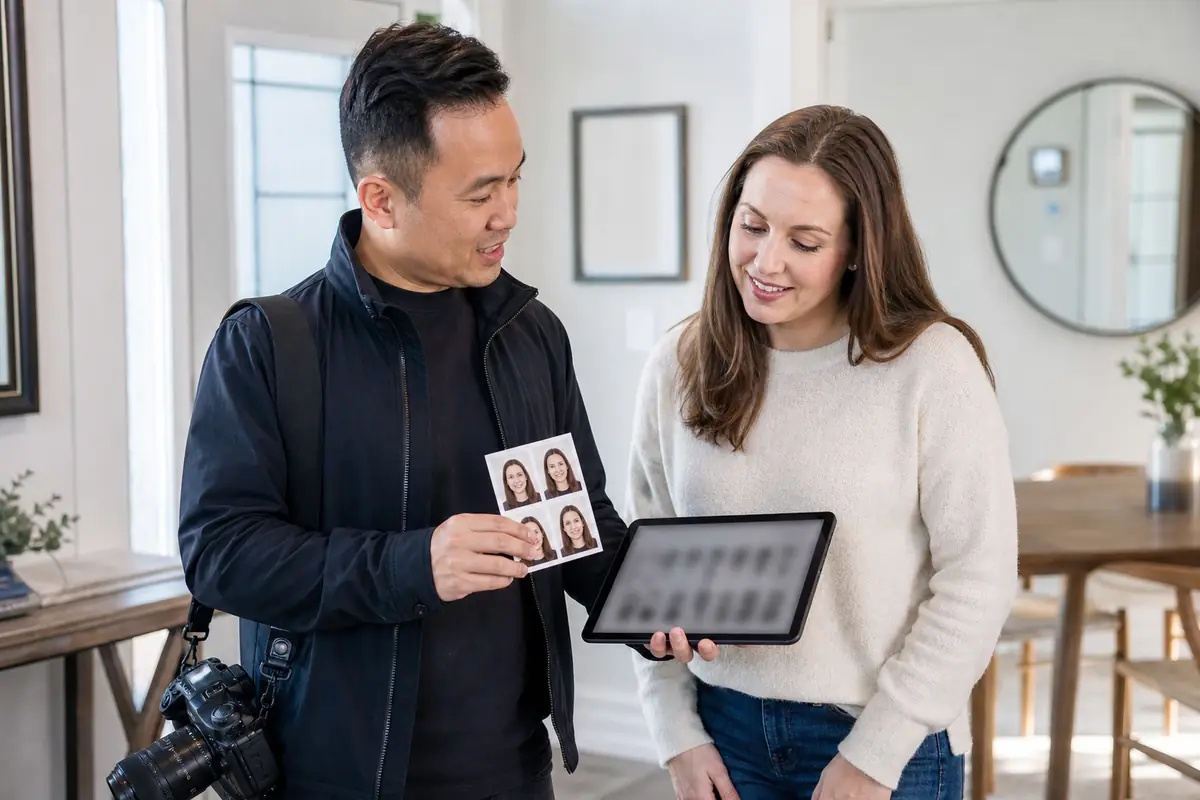
Requirements and online eligibility can change. Before applying, confirm the current details on the Government of Canada passport photo requirements page.
Why a Photo Can Look Fine but Still Fail
A web-sized example cannot prove whether a passport photo is compliant. Two portraits may look almost identical on a screen while one has the wrong chin-to-crown measurement, insufficient contrast, subtle glare, an off-centre crop or missing photographer information. Lens distortion is only one possible issue.
This is also why a side-by-side image should be explained rather than labelled only “right” and “wrong.” The final decision depends on measurable dimensions, the original image quality, the application format and the required documentation on the print or digital submission.
How an At-Home Professional Session Works
An at-home appointment is different from taking the photo yourself. A mobile commercial photographer brings the camera, background and lighting, photographs you in person, checks the crop and technical quality, and prepares the correct printed or digital deliverable. This is useful for babies, seniors, people with disabilities, busy families and anyone who finds studio travel difficult.
- Choose a clear area with enough room for the backdrop, lights and camera distance.
- The photographer sets the camera at eye level and balances the light.
- Several frames are captured while expression, posture and focus are checked.
- The selected image is checked and professionally produced without beauty retouching or AI alteration.
- You receive the required prints or eligible digital file with photographer details.
Green Day Photography provides a professional at-home passport photo service in Toronto and the GTA. For infant-specific preparation, visit our newborn and baby passport photo guide.
Frequently Asked Questions
Can I use my phone to take a Canadian passport photo?
You can use a phone for a practice image, but a printed Canadian passport application requires an in-person photo from a commercial photographer or photo studio. Eligible online renewals also require the photographer’s original digital file and studio details.
How far should the camera be from the face?
There is no official distance specified. The photographer should use enough working distance and an appropriate focal length to avoid wide-angle facial distortion while keeping the camera at eye level.
Is a Canadian passport photo 2×2 inches?
No. A printed Canadian passport photo is 2 inches wide by 2¾ inches high, or 50×70 mm. The common 2×2-inch square format is associated with U.S. passport photos.
Can a passport photo be edited or retouched?
No beauty retouching, filters, background replacement or AI alteration should be applied. The photograph must represent your natural appearance and skin tone. Professional preparation is limited to producing the required crop and deliverable from the original capture.
Is the digital photo for online renewal the same as a printed passport photo?
No. The digital file uses pixel, file-size and 3:2 aspect-ratio requirements, while the paper application uses two 50×70 mm professional prints. Confirm your eligibility and follow the instructions for the application method you are using.
OK I think a lot of people will look at the 2 photos of the woman 2/3 down the page in the black top and wonder why the photo on the left was wrong. Please explain. Above you warn about:
Wrong size or crop
Shadows behind the head
Smiling or tilted head
Poor lighting
I think to most everyone the size and crop is very close though the one on the left is not quite as zoomed in as the one on the right. The point is neither exhibit wide angle lens distortion so the face looks natural in both. I bet a lot of your readers are curious what lens was used and how far away the camera was for both.
There are no shadows behind the head of the one on the left.
She isn’t smiling on the left.
The lighting is very close on both.
So exactly why was the one on the left wrong?