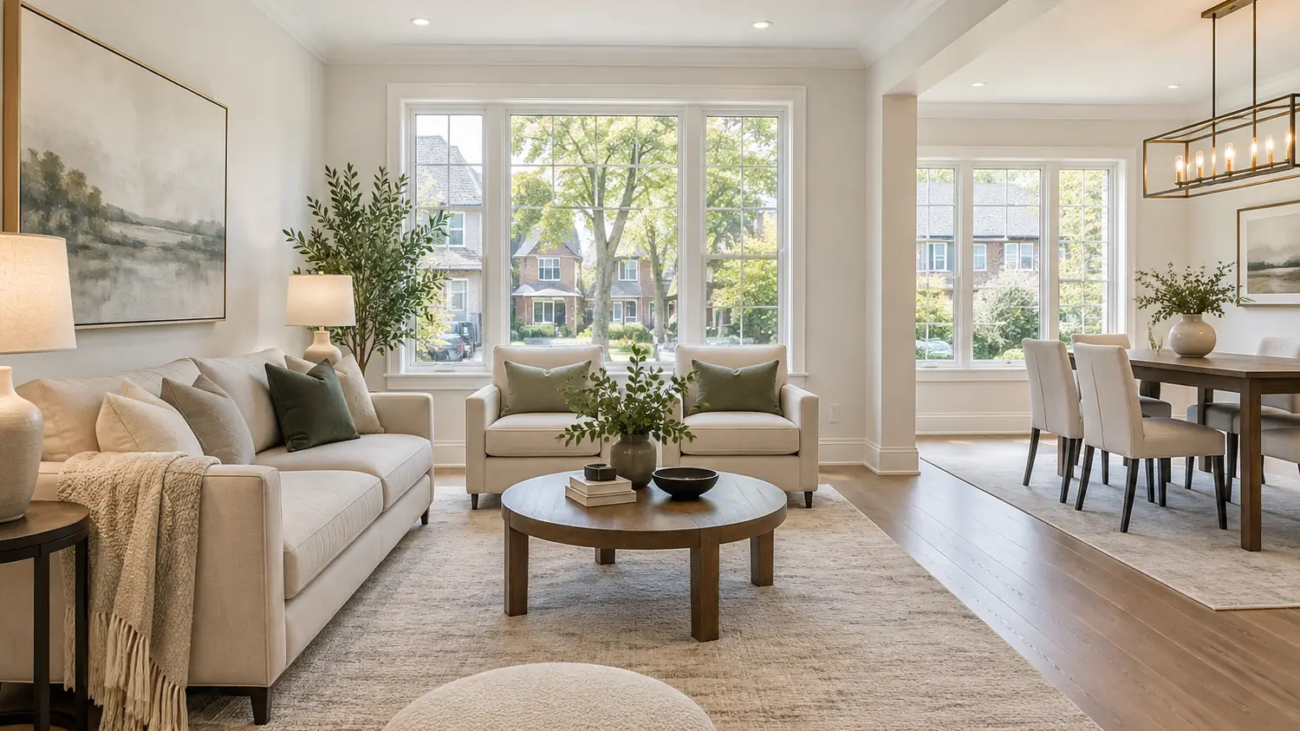
Great listing photos begin before the camera comes out. A clean, calm and well-prepared home helps buyers understand the layout, notice the best features and imagine living there. This 2026 checklist explains exactly how to prepare your home for real estate photos in Toronto and the GTA—without over-staging or wasting time on details the camera will not see.
The goal is not to make your home look empty. It is to remove visual distractions, improve light and create clear sightlines from room to room. Whether you are selling a detached home in Richmond Hill, listing a condo in downtown Toronto or preparing a property in Markham, the same principles apply.
If you still need a photographer, explore our real estate photography services in Toronto or review current real estate photography prices.
The 24-Hour Real Estate Photo Prep Checklist
Use this short list the day before the appointment. Finish the larger cleaning and decluttering jobs earlier, then complete a final walk-through about 30 minutes before the photographer arrives.
- Clean floors, windows, mirrors, counters and reflective appliances.
- Remove excess furniture, paperwork, toys, laundry and personal collections.
- Clear kitchen and bathroom counters.
- Make every bed and straighten pillows, rugs and chairs.
- Open curtains and blinds; replace any burned-out bulbs.
- Hide garbage bins, pet bowls, litter boxes, cleaning supplies and visible cables.
- Turn off TVs, computer screens and ceiling fans.
- Move vehicles away from the driveway and front of the property.
- Secure pets and arrange access to every room, balcony, garage and amenity being photographed.
Start With a Whole-Home Reset
Clean what the camera notices
Wide-angle real estate photos show more of a room than you may notice while walking through it. Dust on a dark table, fingerprints on stainless steel, streaks on a mirror and marks on a glass shower door can all become obvious. Vacuum or mop floors, wipe baseboards in visible areas, clean windows and polish reflective surfaces. You do not need to reorganize every closed cupboard; focus on what will appear in the frame.
Declutter for space and sightlines
Remove items that break up large surfaces or make walkways feel narrow. Start with entry tables, kitchen counters, coffee tables, bathroom vanities and bedside tables. Keep one or two intentional decorative pieces instead of many small objects. If furniture blocks a window, doorway or natural path through the room, move it temporarily. A clear floor area helps the room read accurately in photos.
Depersonalize without removing all character
Put away family photographs, names on walls, medication, documents, valuables and anything that reveals private information. Leave a few neutral books, plants or simple accessories so the home still feels welcoming. The best result is polished but believable—not a room stripped of every sign of life.
Prepare Each Room for Listing Photos
Living room and family room
Straighten sofas, align cushions and fold one throw neatly. Clear remotes, charging cables, game controllers, tissue boxes and crowded shelves. Centre the coffee table and check that rugs are straight. If the room has a fireplace, make it the visual anchor by clearing the mantel and removing tools or baskets that hide its shape. Turn off the television; a black screen is cleaner than a paused image.
Kitchen and dining area
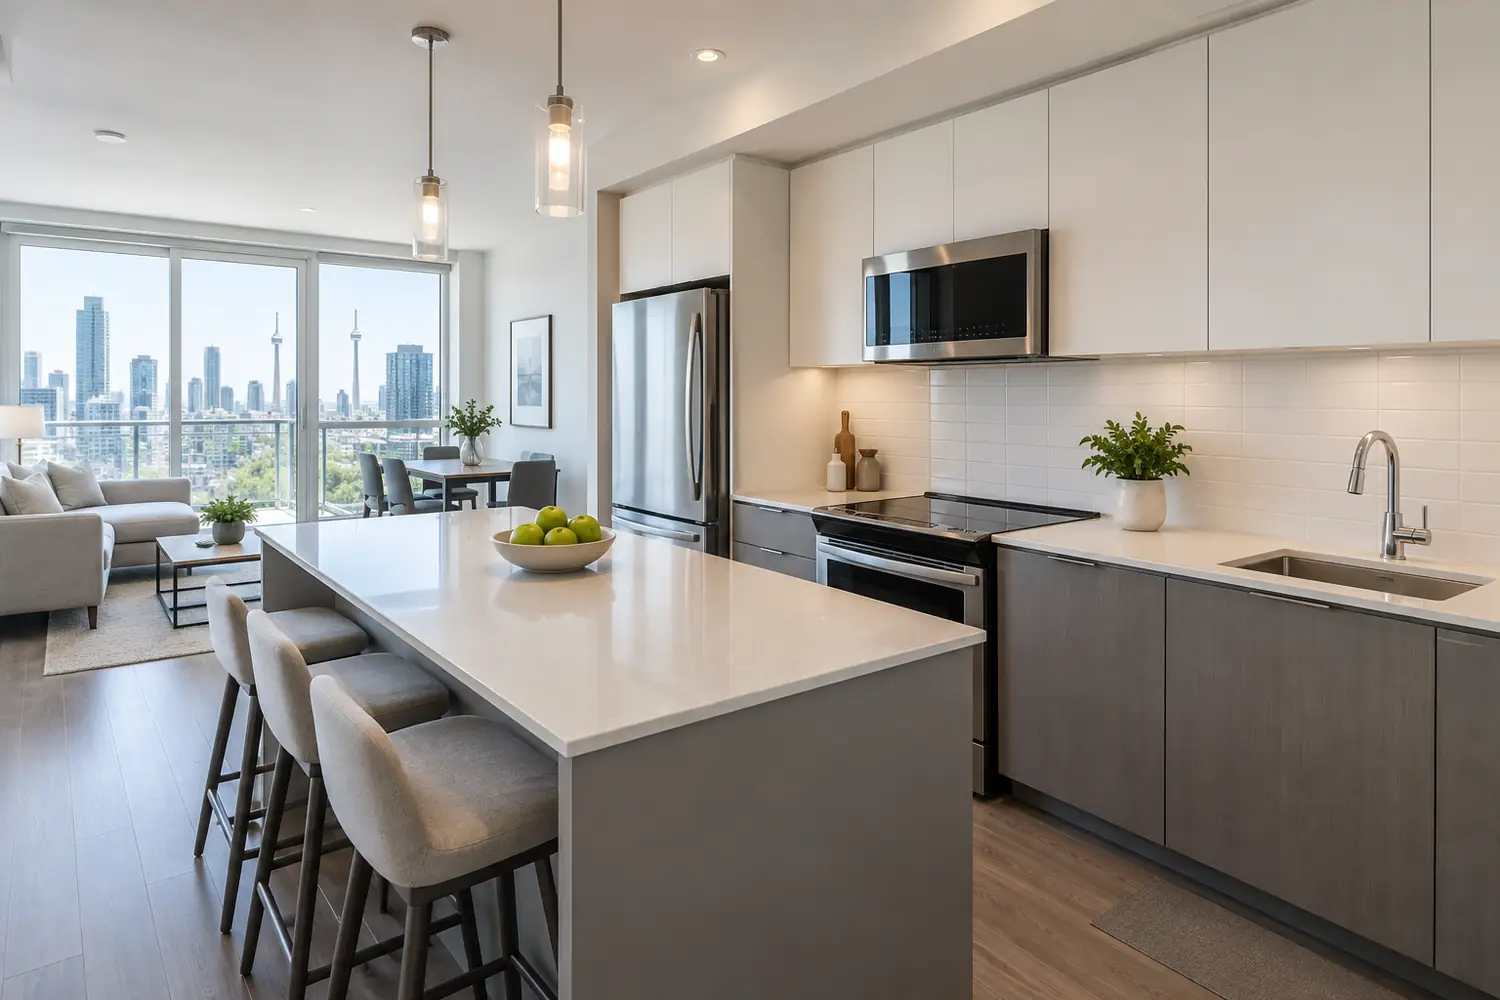
The kitchen usually needs the most editing. Remove dish racks, soap, sponges, paper towels, magnets, notes, small appliances and food packaging. Empty the sink and hide garbage and recycling bins. Polish the range hood, refrigerator and dishwasher. A simple bowl of fruit or one small plant is enough decoration. In the dining area, centre the table, straighten every chair and use a minimal place setting only if it suits the home.
Bedrooms
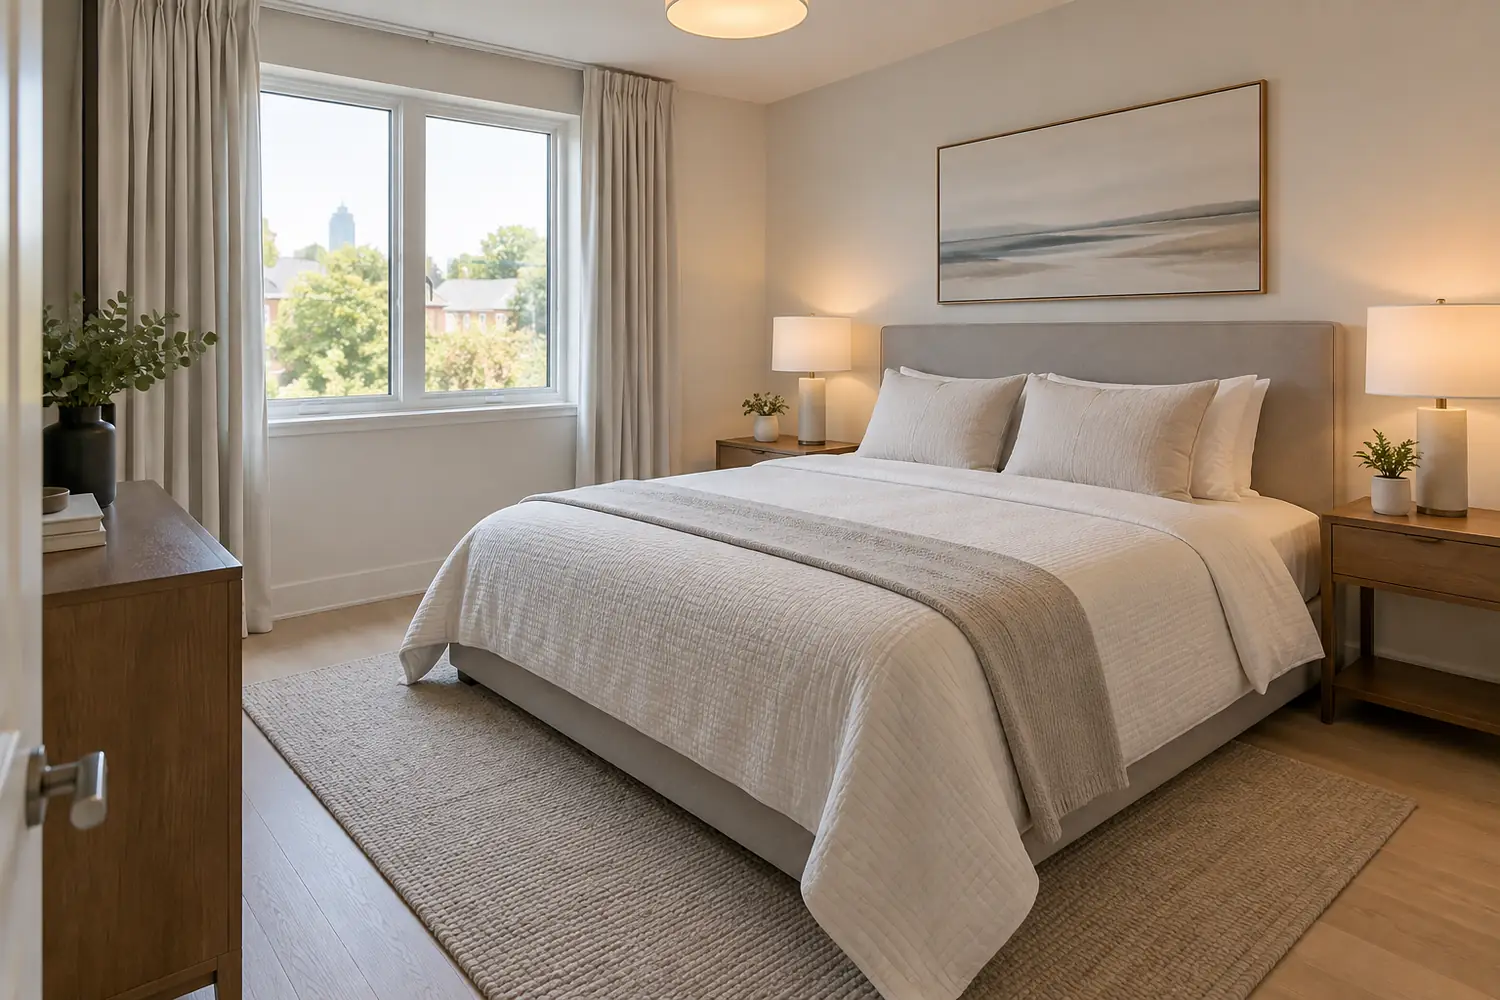
Make beds with smooth, clean bedding and even pillows. Neutral linens photograph well, but you do not need to buy a new set if the existing colours suit the room. Clear nightstands except for a lamp or one small object, hide charging cables and remove laundry baskets. Close closet doors unless the closet is a major selling feature and is scheduled to be photographed. In children’s rooms, reduce toys to a few organized items and remove names or school information.
Bathrooms
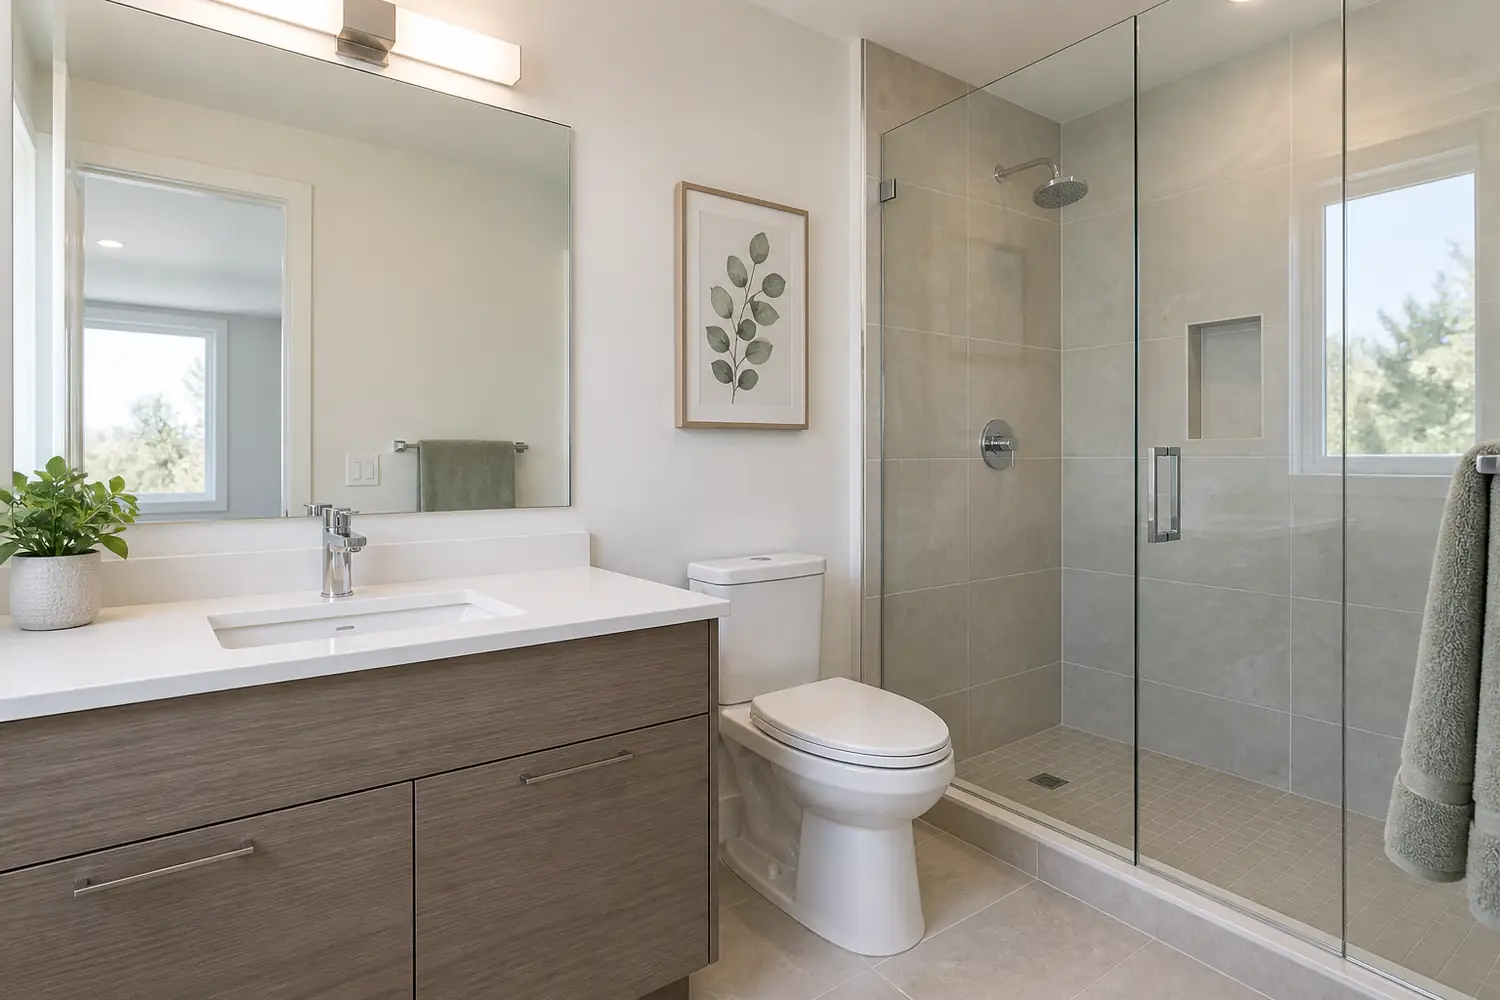
Remove toothbrushes, bottles, cosmetics, razors, bath toys, scales and floor mats. Close the toilet lid, empty the wastebasket and hang one or two clean towels evenly. Clean the mirror, faucet, glass enclosure and chrome fixtures immediately before the session. If the shower curtain is attractive and clean, close it neatly; if the tiled shower is a feature, open it enough to show the interior.
Home office, basement and utility spaces
Clear paperwork, mail, calendars and identifying information from desks. Hide loose cords where possible and turn off computer monitors. In finished basements, define the purpose of each zone so buyers can understand the layout. For utility rooms, garages and storage areas, create safe walkways and keep panels, furnaces and major equipment visible if they are part of the photo plan.
Prepare the Exterior and Arrival Experience
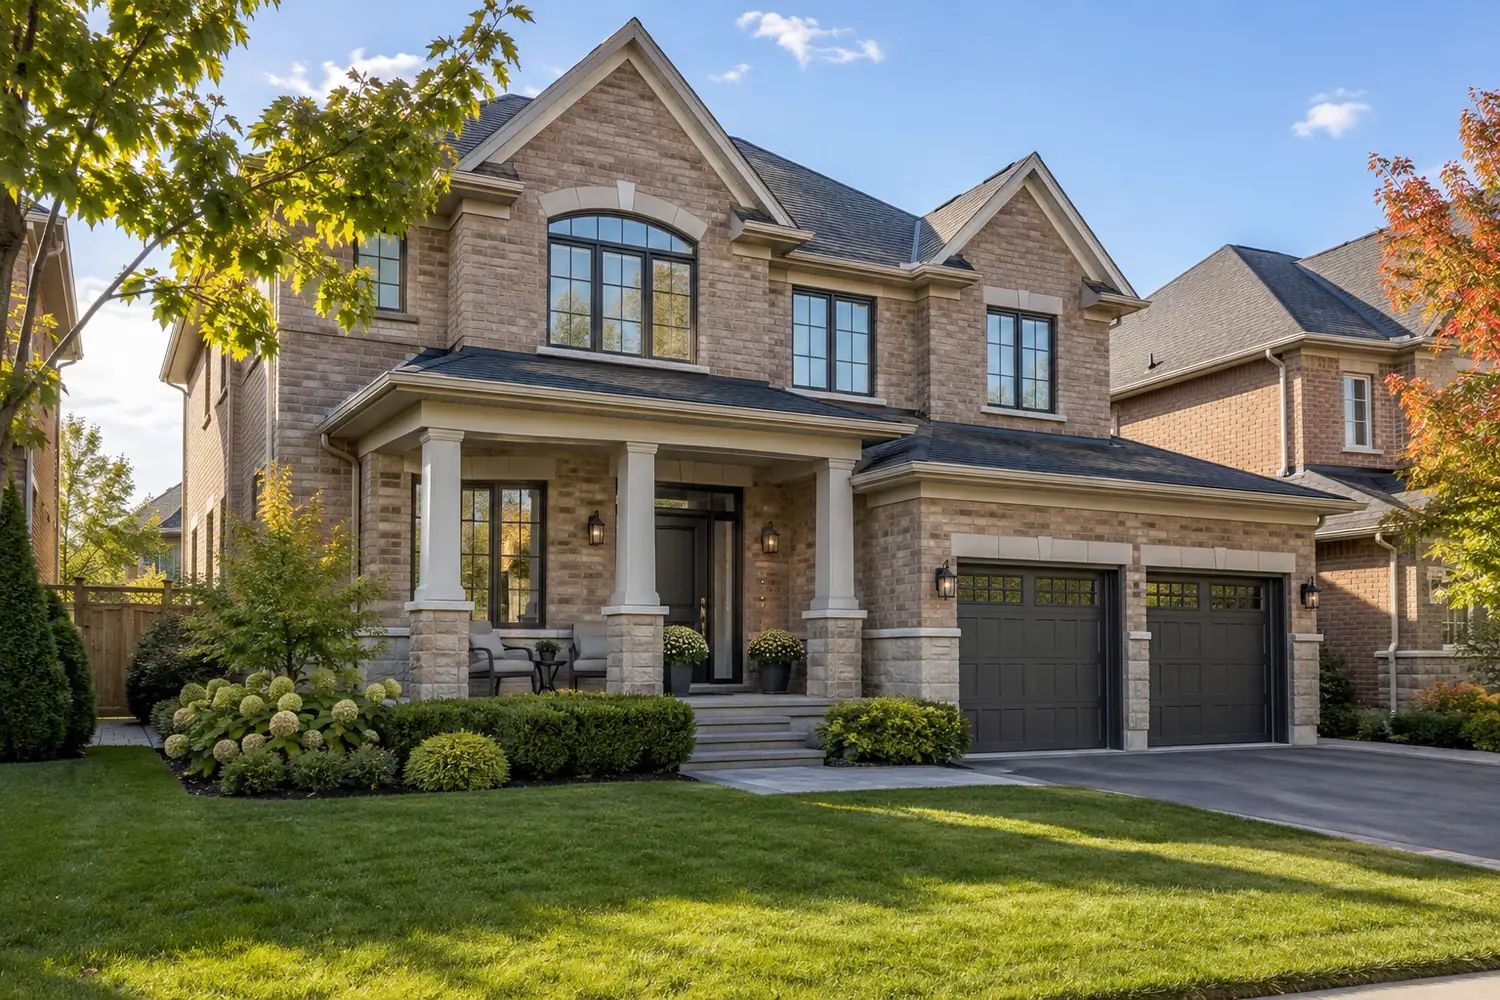
The exterior image is often the first photo buyers see. Move cars from the driveway and, when possible, away from the curb directly in front of the home. Hide garbage, recycling and green bins. Sweep steps, remove seasonal clutter, straighten patio furniture and coil hoses. In warmer months, mow the lawn and trim anything blocking windows or the address. In winter, clear snow and ice from walkways and brush snow from outdoor furniture.
Check the front door, porch light and house number. A clean entrance helps the first image feel cared for. For twilight photography, confirm that exterior fixtures, landscape lights and interior lamps are working before sunset. For drone coverage, remove temporary objects from the yard and tell the photographer about nearby restrictions or privacy concerns.
Lighting, Windows and Final Camera-Ready Details
Open curtains and raise blinds to a consistent height unless a window looks directly onto an unattractive obstruction. Replace burned-out bulbs and use matching colour temperatures within each room; mixed blue and orange bulbs are difficult to balance. Your photographer may decide whether lights should be on or off based on the room and editing style, so make sure every fixture works and is accessible.
Turn ceiling fans off so the blades are sharp. Remove portable fans, humidifiers and visible air purifiers unless they are built in. Check mirrors for accidental reflections and tuck away personal photographs near reflective glass. Finally, walk through the property from the front door as if you were a buyer and look for anything that interrupts a clean view into the next room.
Toronto and GTA Condo Preparation
Condo sessions require a little extra planning. Reserve an elevator if equipment must be moved, confirm visitor parking and notify the concierge. Ask whether the lobby, gym, rooftop or other amenities require advance permission. Clean balcony glass and remove covers, bicycles and storage items from the balcony. In a compact unit, even one extra chair or floor lamp can make a walkway feel tight, so temporarily move non-essential furniture to a locker or another room that has already been photographed.
If the view is a selling feature, choose a time when glare is manageable and let the photographer know in advance. Avoid booking cleaners, movers, contractors and photography for the same time window. Coordinating access before the appointment protects the shooting time and prevents missed amenity photos.
Vacant Homes, Renovations and Virtual Staging
A vacant property should still be fully cleaned. Remove construction dust, paint cans, protective floor coverings, tools and leftover materials. Install working bulbs, finish visible touch-ups and confirm that water and power are available. Empty rooms reveal every mark and uneven blind, so inspect walls, floors and window coverings carefully.
Virtual staging can help buyers understand scale, but it works best when the original room is photographed cleanly and accurately. Discuss the intended furniture style before the session and keep the unstaged version available for transparent marketing. Do not use virtual staging to hide damage or permanently change the property’s features.
What to Do on Photography Day
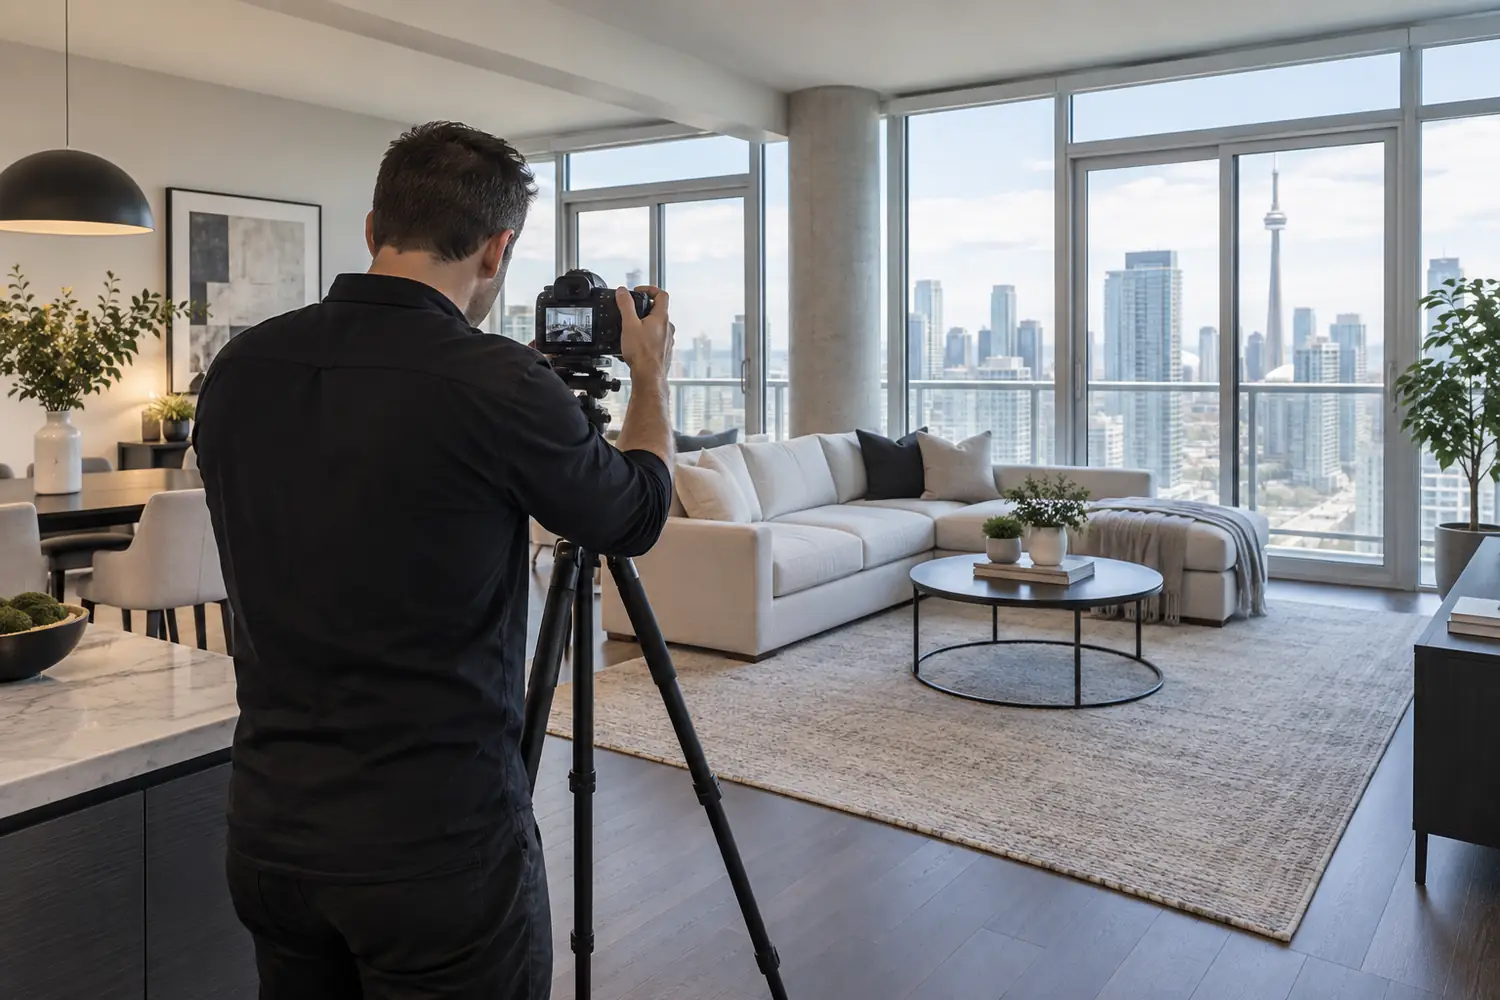
Complete your final reset before the scheduled arrival time. Put away pet supplies, close toilet lids, open curtains and check that all rooms are accessible. Plan for residents and pets to leave during the session whenever possible. The photographer will be moving through doorways, adjusting small items and working from several corners of each room; a quiet property makes the process faster and safer.
If photo, video, floor-plan and drone services are booked together, allow more time than for photos alone. Share must-have features before the session—such as a renovated pantry, legal basement entrance, view, pool or neighbourhood amenity—so they are included in the shot plan.
Common Preparation Mistakes
- Hiding clutter in the next room: every scheduled room needs to remain accessible.
- Over-decorating: too many flowers, towels or place settings can distract from the property.
- Using mismatched bulbs: mixed lighting creates inconsistent colour.
- Leaving vehicles outside: cars can block the façade and driveway.
- Booking too early: unfinished repairs and cleaning are more noticeable in high-resolution images.
- Expecting editing to remove everything: small temporary objects may be removable, but preparation is faster and produces a more accurate result.
For more examples, read common mistakes in property photos. If you plan to take some images yourself, our guide to taking real estate photos like a professional covers camera height, composition and lighting.
How Long Should Home Preparation Take?
For an occupied condo, allow several hours over one or two days. A larger detached home may need a full weekend, especially if exterior work or furniture removal is required. Start with repairs and deep cleaning, then declutter and style, and leave only the final lighting and surface check for photography day. Realtors can send this checklist to sellers as soon as the appointment is booked.
Frequently Asked Questions
Should I turn all the lights on before the photographer arrives?
Make sure every light works and bulbs match within each room. The photographer may use all lights, only selected lamps or natural light depending on the space and the desired colour balance.
Should I remove family photos?
Yes, remove identifiable family photos and private information. A few neutral art pieces can remain so the home does not feel empty.
Do closets need to be cleaned?
Only if the closet will be photographed or is a key selling feature. Otherwise, keep doors closed—but do not fill every closet with items that must be moved during the session.
What happens if it rains?
Interior photography can often continue. Exterior and drone photos may be rescheduled or completed during a better weather window, depending on safety and your listing timeline.
How much does real estate photography cost in Toronto?
Green Day Photography packages currently start from $180 plus tax, with the final price depending on property size and services such as video, drone, floor plans or twilight coverage. Check our current Toronto real estate photography pricing for details.
Book Real Estate Photography in Toronto and the GTA
Green Day Photography provides interior and exterior photography, video, drone coverage and property-marketing options across Toronto, North York, Markham, Richmond Hill, Vaughan and nearby GTA communities. See our local work in Markham and Richmond Hill, or contact us with the address, property type, approximate square footage and preferred date.
Add a Comment