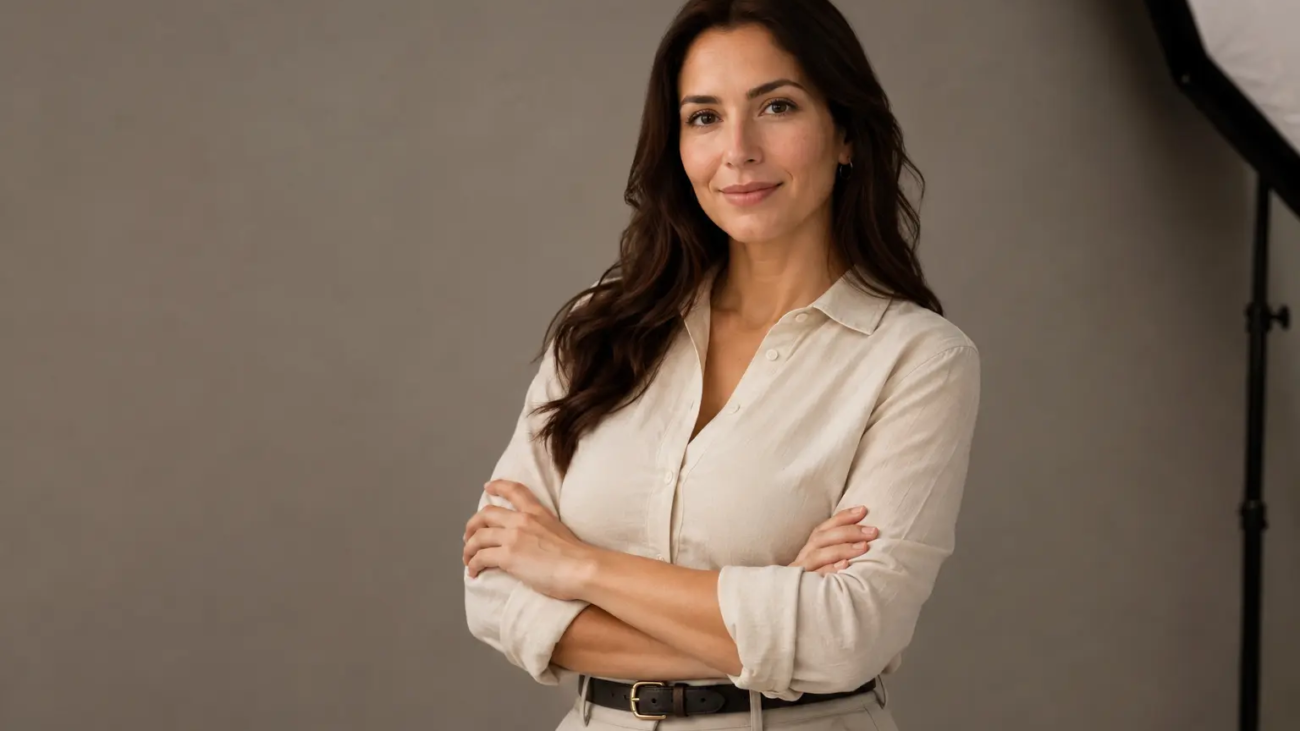
Portrait photography techniques are not about memorizing one camera setting or copying a pose. A strong portrait comes from several decisions working together: lens choice, distance, light direction, exposure, composition, posing and communication. When these elements support the same idea, the photograph feels natural and intentional instead of stiff or overproduced.
This practical 2026 guide explains the techniques we use when creating professional portraits in Toronto and the GTA. It is written for photographers who want repeatable results, but it can also help clients understand what happens during a well-planned portrait session.
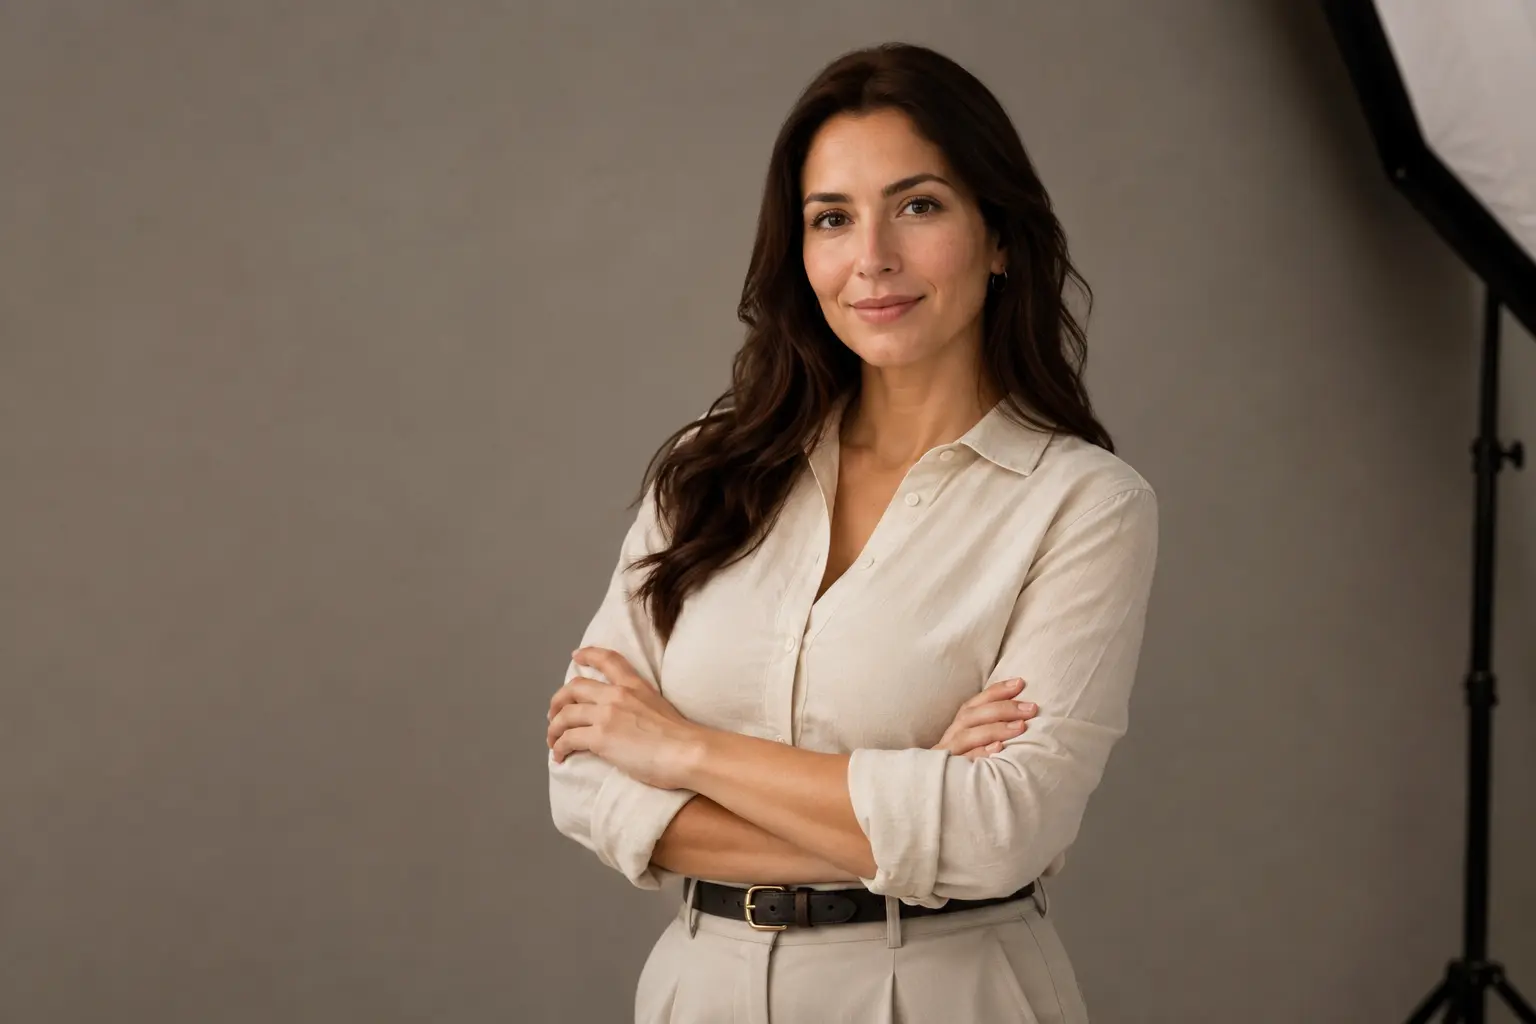
1. Start With the Purpose of the Portrait
Before choosing a lens or lighting pattern, decide what the portrait needs to communicate. A corporate headshot should feel clear, capable and approachable. A creative branding portrait may need more movement, environment and personality. A family or personal portrait can prioritize connection and expression.
This decision affects everything that follows. It determines whether the background should be neutral or environmental, whether the subject should look directly into the camera, and how much of the body should appear in the frame. If you are planning a client session, review examples in our Toronto portrait photography portfolio and service page before choosing the visual direction.
2. Choose a Flattering Lens and Camera Distance
Focal length changes more than background blur. It also changes how close the camera must be to the subject, and camera distance affects facial perspective. Moving too close with a wide lens can exaggerate the nearest features. Stepping back and using a longer focal length usually creates more natural facial proportions.
- 35mm: useful for environmental portraits that show a person in a workspace or location. Keep the subject away from the edges, where distortion is stronger.
- 50mm: flexible for three-quarter and full-length portraits, especially in a smaller studio.
- 70–85mm: a reliable range for head-and-shoulders portraits with comfortable working distance.
- 100–200mm: helpful outdoors when you want stronger background compression and separation.
At Green Day Photography, our Sony A7 IV with a 24–70mm or 70–200mm lens lets us change framing without crowding the subject. The important lesson is not that one lens is always best; it is that you should choose a camera distance that keeps facial proportions natural, then select the focal length that creates the framing you need.
3. Use Aperture for the Number of People, Not Only for Bokeh
A wide aperture can create attractive background blur, but sharp eyes matter more than maximum bokeh. For one person, f/2 to f/3.2 is often a practical starting range. If the face is turned sharply, stopping down slightly helps keep both eyes acceptably sharp. For couples or groups, f/4 to f/8 is usually safer, depending on how closely everyone is aligned.
Do not rely on aperture alone to separate the subject. Increase the distance between the person and the background, use a longer focal length, and simplify distracting elements. These choices can create a clean portrait even when the lens is not used completely wide open.
4. Focus on the Near Eye and Protect the Highlights
For a single portrait, place focus on the eye closest to the camera. Modern eye-detection autofocus is useful, but always confirm that it has selected the correct eye. Use a shutter speed fast enough for small movements: around 1/200 second is a dependable studio starting point, while 1/320 second or faster may be better for walking, hair movement or outdoor sessions.
ISO should support the shutter speed and aperture rather than become a source of stress. A sharp, well-exposed portrait at ISO 800 is more useful than a blurred frame at ISO 100. Watch bright skin, white clothing and windows on the histogram. Slightly protecting the highlights gives you more flexibility when finishing the image.
5. Build Soft, Directional Portrait Light
Soft light is created by a light source that appears large relative to the subject. Move a softbox closer, use a large window, or diffuse direct sunlight. Soft does not mean flat: direction is what gives the face shape.
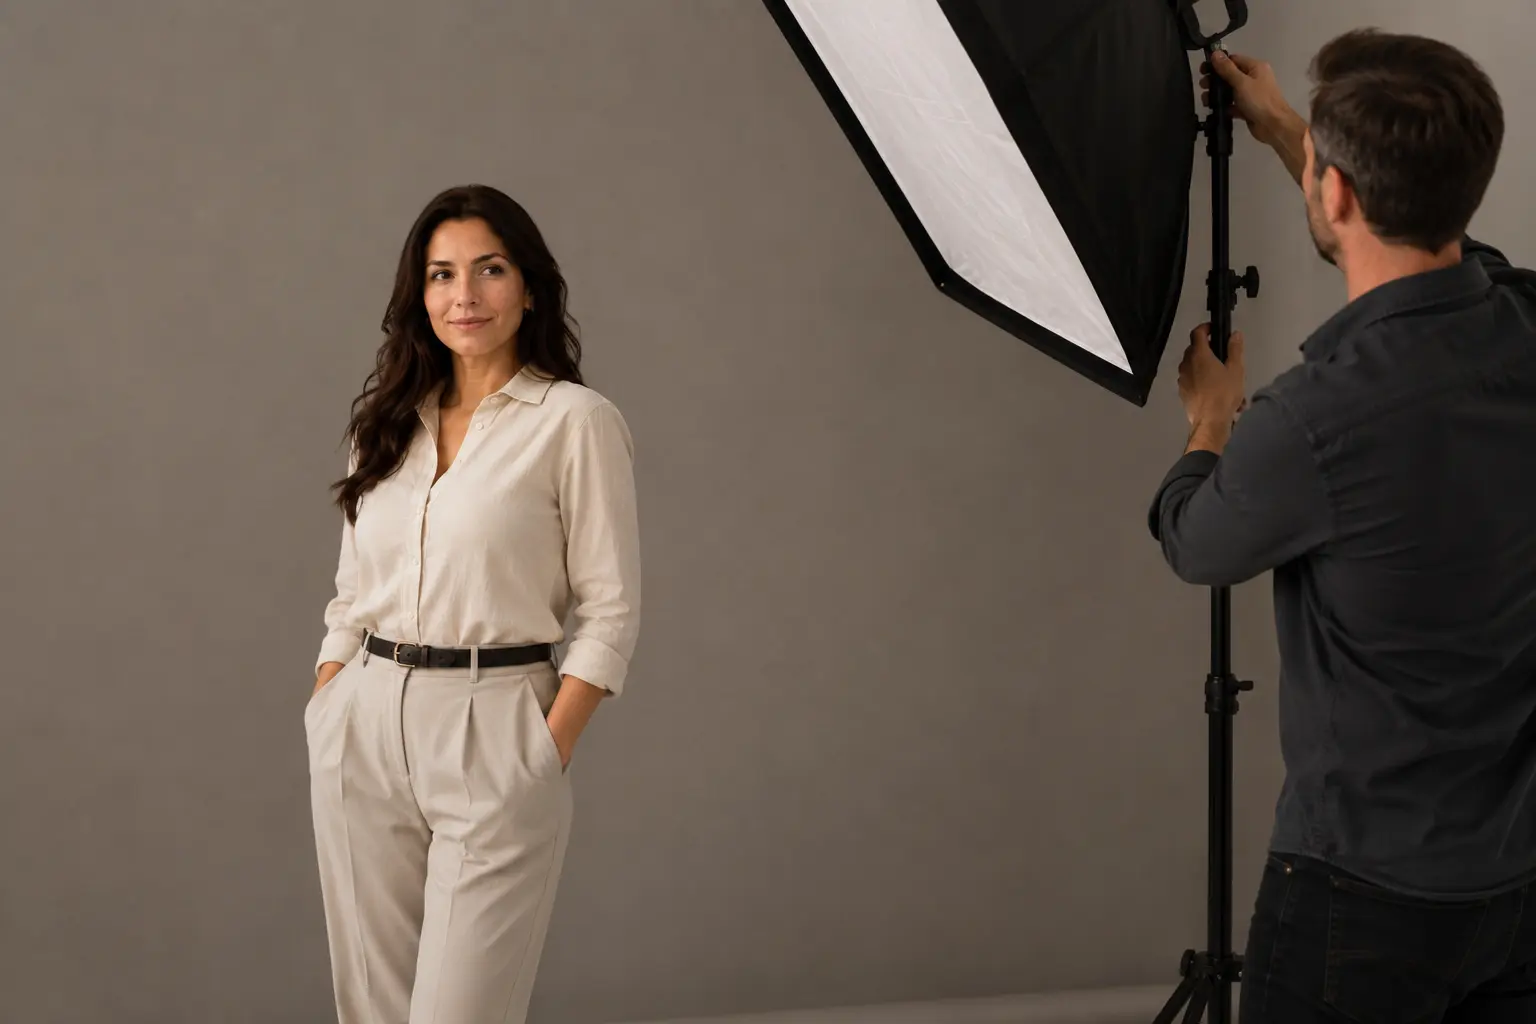
Simple one-light studio setup
- Place a large softbox about 45 degrees to one side of the subject and slightly above eye level.
- Turn the subject’s face gradually toward the light until both eyes have clean catchlights.
- Use a white reflector on the shadow side if the contrast feels too strong.
- Move the light closer for softer transitions; move it farther away for more even but relatively harder light.
For window light, position the subject near the window rather than deep in the room. Turn off mixed-colour ceiling lights when possible. A white wall or reflector can gently lift the shadow side without removing the natural direction of the light.
6. Control Outdoor Light Instead of Chasing “Golden Hour”
Golden hour is useful because the sun is lower and warmer, but location and direction still matter. Look for open shade with a bright sky in front of the subject. If the sun is behind the person, expose carefully for the face and use a reflector or subtle fill light when needed. Avoid patches of direct sunlight across the forehead or eyes.
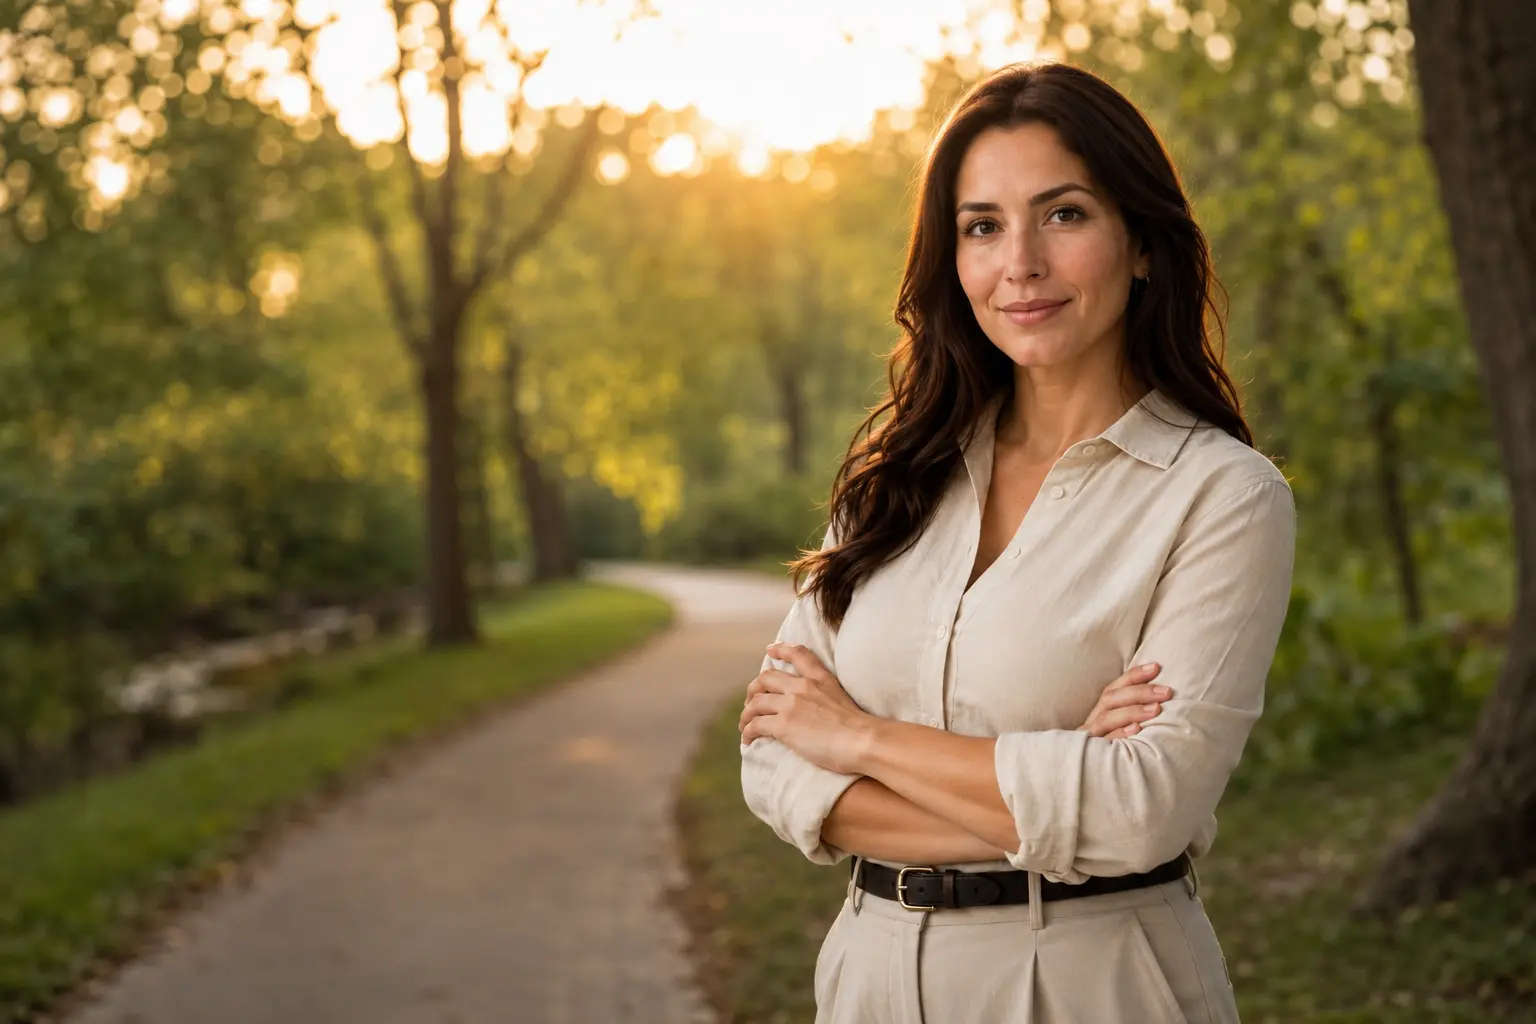
Cloudy conditions can be excellent for portraits, but the light still has direction. Ask the subject to face the brightest open part of the sky. This creates cleaner catchlights and prevents heavy shadows under the eyes.
7. Compose Around the Eyes and the Story
The rule of thirds is a useful starting point, not a requirement. Place the eyes deliberately, check the frame edges and leave space in the direction of the subject’s gaze. Use doorways, paths, walls or furniture as leading lines, but make sure they guide attention toward the person rather than away from them.
For website and branding images, negative space has a practical purpose: it gives designers room for text or buttons. Capture both horizontal and vertical versions during the same session. For close portraits, avoid awkward crops directly through joints such as wrists, elbows or knees.
8. Guide Posing With Small Adjustments
Natural posing rarely means giving no direction. Most people feel more comfortable when instructions are simple and specific. Build the pose from the feet upward, then refine the shoulders, hands and expression.
- Shift most of the weight onto the back foot for a relaxed standing pose.
- Turn the body slightly away, then bring the face back toward the camera.
- Create a little space between the arms and torso instead of pressing them flat.
- Give the hands a light task: adjust a cuff, touch a pocket, hold glasses or rest gently on a chair.
- Ask for a slow breath out before taking the photograph; shoulders and expression often relax naturally.
Avoid criticizing the subject’s body or saying a pose is “wrong.” Describe what to do next and demonstrate it yourself. For business portraits, our professional headshot guide for Richmond Hill, North York and the GTA explains how session goals influence posing and framing.
9. Create Real Expressions Through Communication
Expression is a technical part of portrait photography because timing depends on communication. Keep directions short, maintain a calm pace and photograph the transition between expressions. Often the most believable frame appears just after the subject stops holding a formal smile.
Show one or two strong frames during the session when it will build confidence, but do not interrupt the flow after every photograph. Music, conversation and small movements can help, yet the photographer should remain attentive to posture, focus and light while talking.
10. Edit for Consistency, Not a Different Person
Professional portrait editing starts with exposure and white balance, followed by consistent contrast and colour. Retouch temporary distractions while preserving natural skin texture and recognizable features. Over-smoothing skin, whitening eyes heavily or changing facial structure can make a technically clean portrait feel artificial.
For a deeper workflow, see our guide on how to edit photos like a professional. You can also compare finished work in the Green Day Photography gallery.
Quick Portrait Photography Settings
| Situation | Starting settings | What to check |
|---|---|---|
| Studio headshot | 1/200 sec, f/5.6, ISO 100 | Flash sync, catchlights and background exposure |
| Window-light portrait | 1/250 sec, f/2.8, Auto ISO | Near-eye focus and highlight detail |
| Outdoor golden hour | 1/500 sec, f/2.8, Auto ISO | Face exposure and bright sky |
| Two-person portrait | 1/250 sec, f/4–f/5.6 | Keep both faces on a similar focus plane |
| Walking portrait | 1/640 sec, f/2.8–f/4 | Continuous autofocus and natural movement |
These are starting points, not fixed rules. Meter the actual scene, confirm sharpness at full size and adjust for the subject’s movement and the depth you need.
Common Portrait Photography Mistakes
- Using the widest aperture even when both eyes or multiple people need to be sharp.
- Standing too close with a wide lens and unintentionally changing facial perspective.
- Ignoring hands, clothing folds, background objects and frame edges.
- Mixing window light with warm ceiling light and creating inconsistent skin colour.
- Giving vague posing instructions or stopping the session to inspect every frame.
- Retouching so heavily that skin texture and identity are lost.
Portrait Photography Techniques FAQ
What is the best lens for portrait photography?
There is no single best lens. A 50mm lens is flexible, 70–85mm is excellent for classic head-and-shoulders portraits, and longer focal lengths create stronger background compression outdoors. Camera distance and the intended composition matter as much as focal length.
Which aperture should I use for a portrait?
For one person, f/2 to f/3.2 is a practical starting range. Stop down when the face is angled strongly or when multiple people must be sharp. Use subject-to-background distance to create separation instead of relying only on a very wide aperture.
How do I make portrait poses look natural?
Give one direction at a time, begin with weight placement and body angle, then refine hands and expression. Gentle movement and conversation usually produce better transitions than asking someone to hold one pose for too long.
Do I need studio lights for professional portraits?
No. A large window, open shade and a reflector can produce professional results. Studio lighting becomes valuable when you need consistency, precise control or the same look across many people.
Plan Your Portrait Session in Toronto
The most effective portrait photography techniques become nearly invisible in the final image. The viewer notices the person first, while good lens choice, light, composition and direction quietly support the result. If you would rather work with a photographer, explore our portrait photography services or contact Green Day Photography to plan a studio, outdoor or on-location session in Toronto and the GTA.
Add a Comment