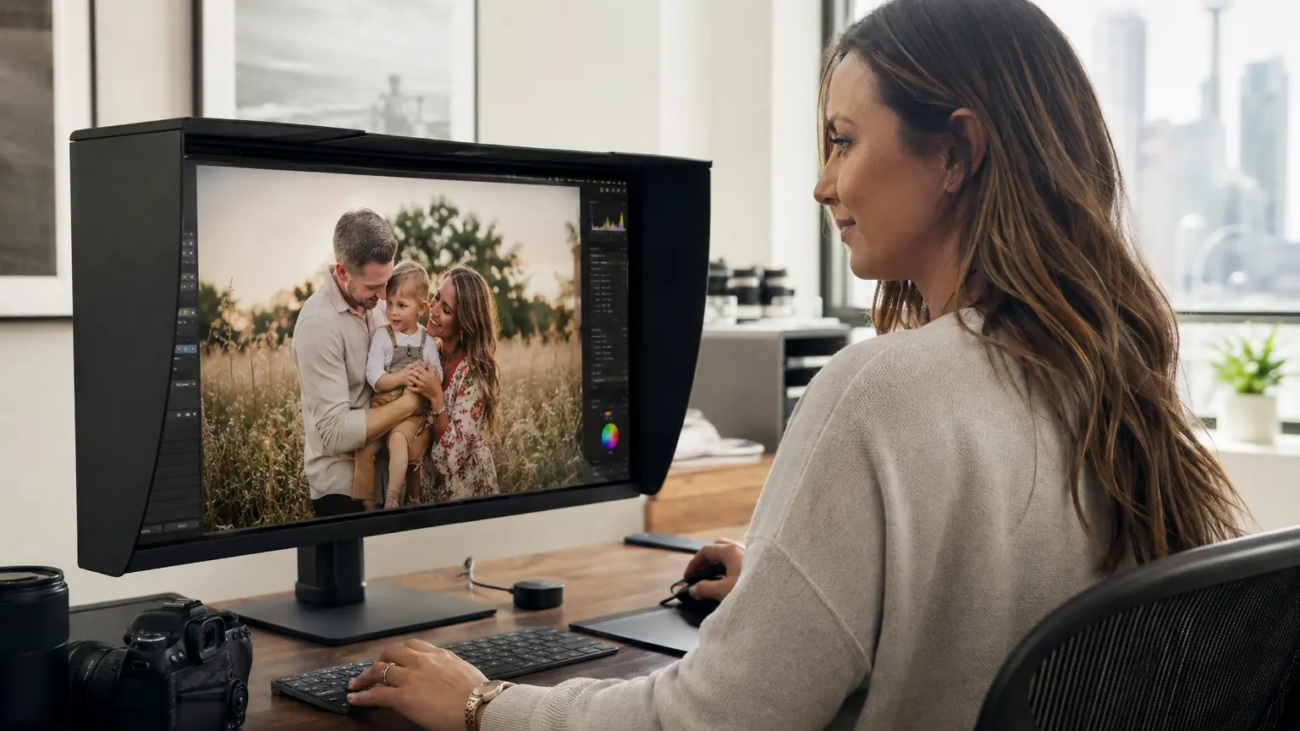
Knowing how to edit photos like a pro is less about using dramatic presets and more about following a consistent, non-destructive workflow. Professional editing improves exposure, colour, composition and subject separation while keeping skin, texture and light believable. In this 2026 guide, we explain the practical Lightroom and Photoshop workflow we use at Green Day Photography, plus mobile editing, AI tools and export settings for web and print.
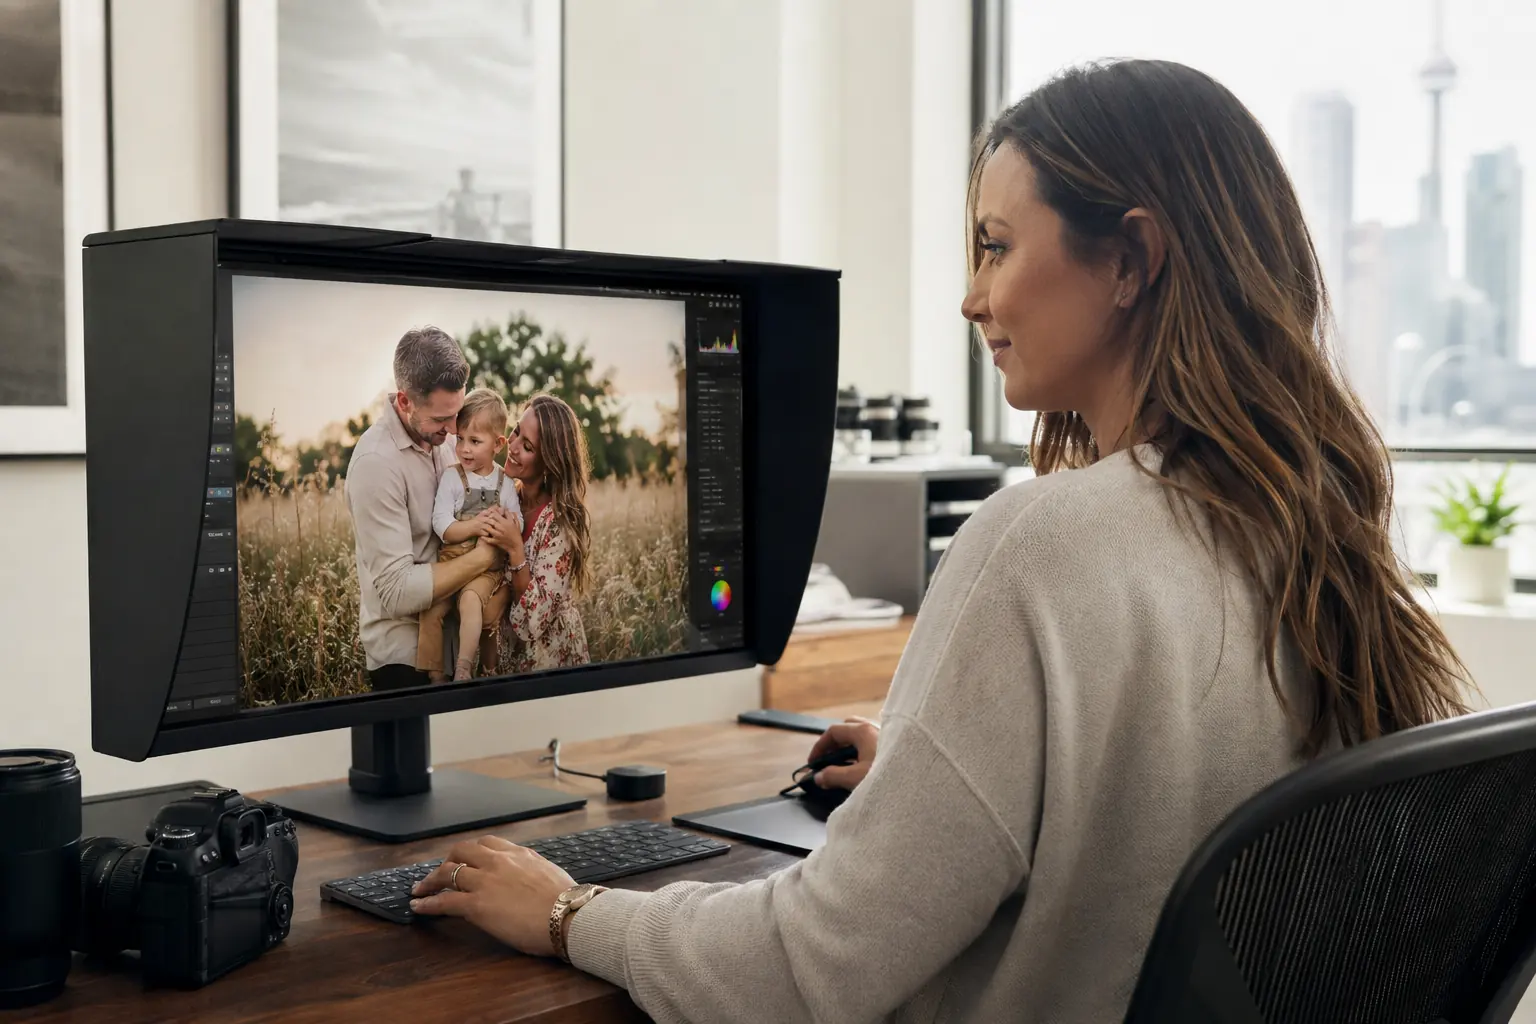
The Short Answer: A Professional Photo Editing Order
A reliable editing sequence is: back up and select your images, apply lens corrections, crop and straighten, correct white balance, balance exposure, refine contrast and colour, use local masks, retouch only what is distracting, sharpen at the final size and export for the intended destination. Working in this order prevents one adjustment from creating a new problem later.
RAW vs. JPEG: Start With the Best File
RAW files contain more tonal and colour information than JPEG files. That extra data gives you greater control when recovering bright skies, opening dark shadows or correcting mixed indoor light. JPEG is already processed and compressed by the camera, so heavy corrections can reveal banding, noise and colour damage sooner.
If your camera or phone only provides JPEG or HEIC, you can still get a polished result. Make smaller adjustments, protect highlights and avoid repeatedly saving the same file. Always keep the original untouched so you can return to it.
How to Edit Photos Like a Pro in Lightroom
1. Import, Back Up and Cull First
Before touching a slider, create at least one backup and remove obvious misses: duplicate frames, closed eyes, motion blur and missed focus. Compare similar images at the same magnification. Select the frame with the strongest expression, cleanest focus and most useful composition—not simply the brightest preview.
2. Correct the Lens, Crop and Straighten
Enable the correct lens profile to reduce distortion and unwanted edge darkening. Then straighten horizons and vertical lines before making detailed adjustments. Crop with the final use in mind: a website banner, an 8×10 print and an Instagram portrait all require different framing. Leave comfortable space around hands, feet and heads.
3. Set White Balance and Exposure
Correct white balance before colour grading. Find a neutral area, then fine-tune Temperature and Tint while watching skin tones. Next adjust Exposure for the main subject. Use Highlights to recover bright areas and Shadows to reveal important detail, but do not flatten the entire image. Whites and Blacks should establish clean endpoints without crushing texture.
4. Build Contrast Without Losing Detail
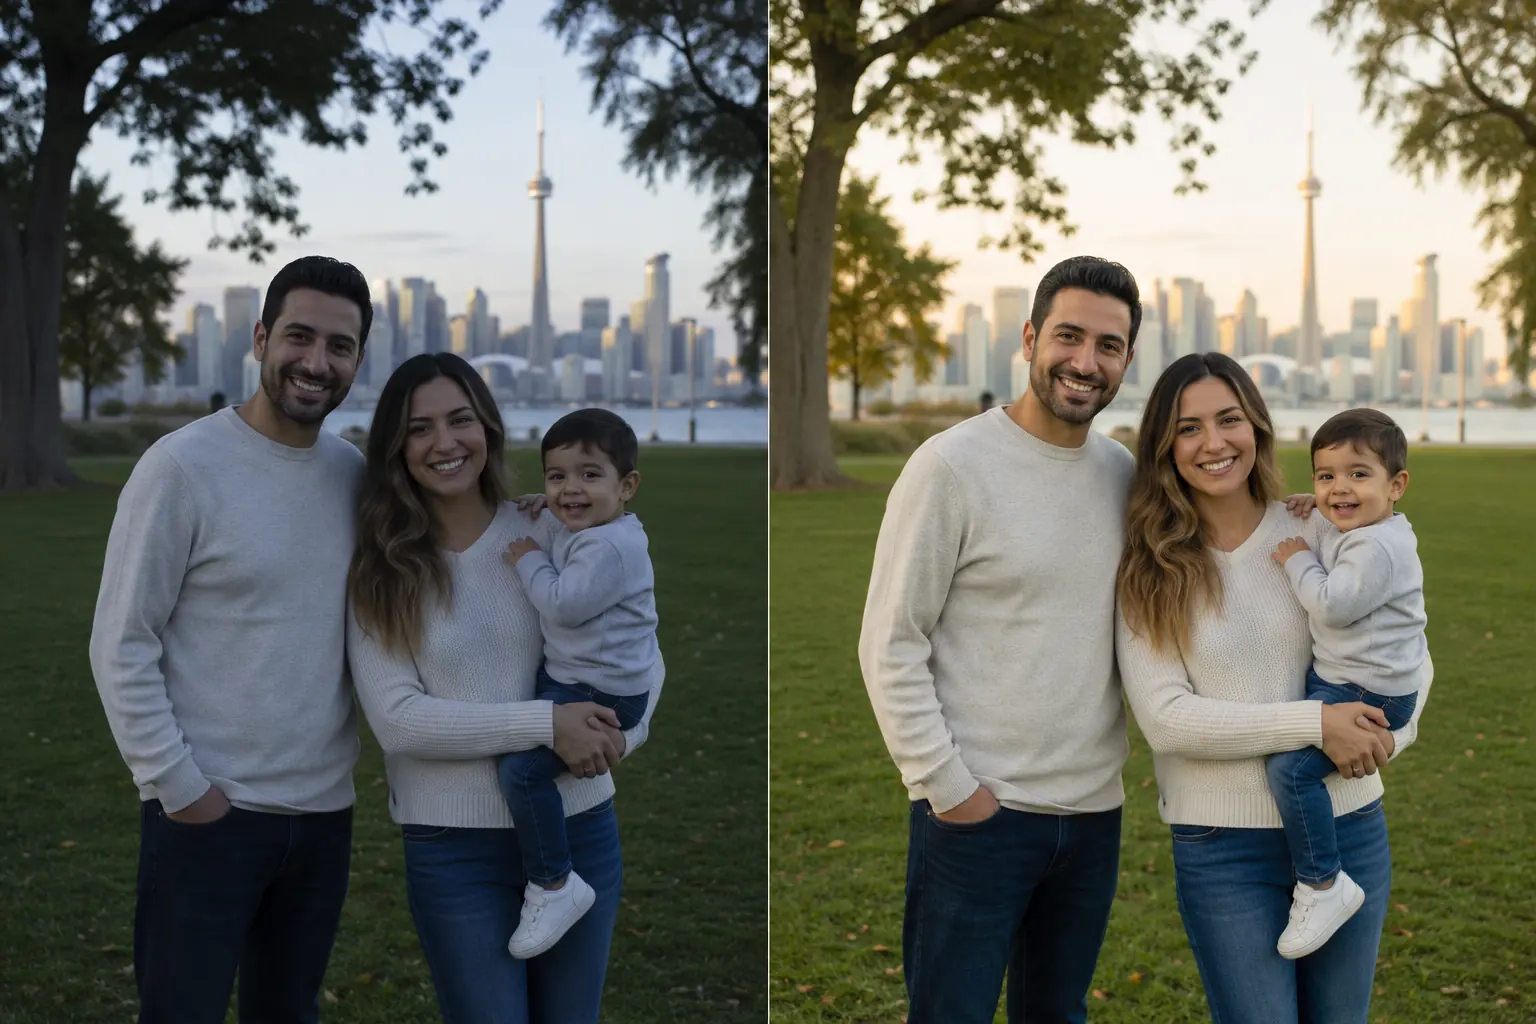
Contrast should guide attention, not make every part of the photograph equally intense. Start with a gentle Tone Curve or small Contrast adjustment. Add Texture to detailed surfaces and use Clarity carefully; too much Clarity creates harsh skin and bright halos. Dehaze is useful for actual haze, but it is rarely a general-purpose contrast slider.
5. Correct Colour Before Adding a Style
Use Vibrance before Saturation when people are present because it is generally gentler on already-strong colours. The HSL or Colour Mixer panel can reduce an overly green lawn, control orange skin or deepen a pale sky. Make small changes and compare the result with the unedited version. Colour grading should support the scene rather than hide inaccurate colour correction.
6. Use Masks for Local Adjustments
Global sliders affect every pixel. Masks let you brighten a face, reduce a bright background, add detail to clothing or guide attention toward the subject. Modern subject, sky and object selections save time, but inspect their edges at 100%. Refine hair, glasses and overlapping hands manually when automation misses them.
Professional rule: If viewers notice the mask before they notice the subject, the adjustment is probably too strong.
When to Move From Lightroom to Photoshop
Lightroom is ideal for organising files, batch editing, colour correction and most portrait adjustments. Photoshop becomes useful when an image needs precise pixel-level work: removing a complex distraction, combining layers, repairing clothing, replacing a small damaged area or refining a difficult selection. Send only the selected final images to Photoshop; there is no benefit in making every file heavier.
Natural Portrait Retouching
Professional portrait retouching should preserve identity and real skin texture. Begin with temporary distractions such as a small blemish, loose lint or a stray hair crossing the face. Reduce redness and uneven brightness gently instead of blurring the skin. Eyes can receive a small exposure and sharpness adjustment, but whitening eyes or teeth too much quickly looks artificial.
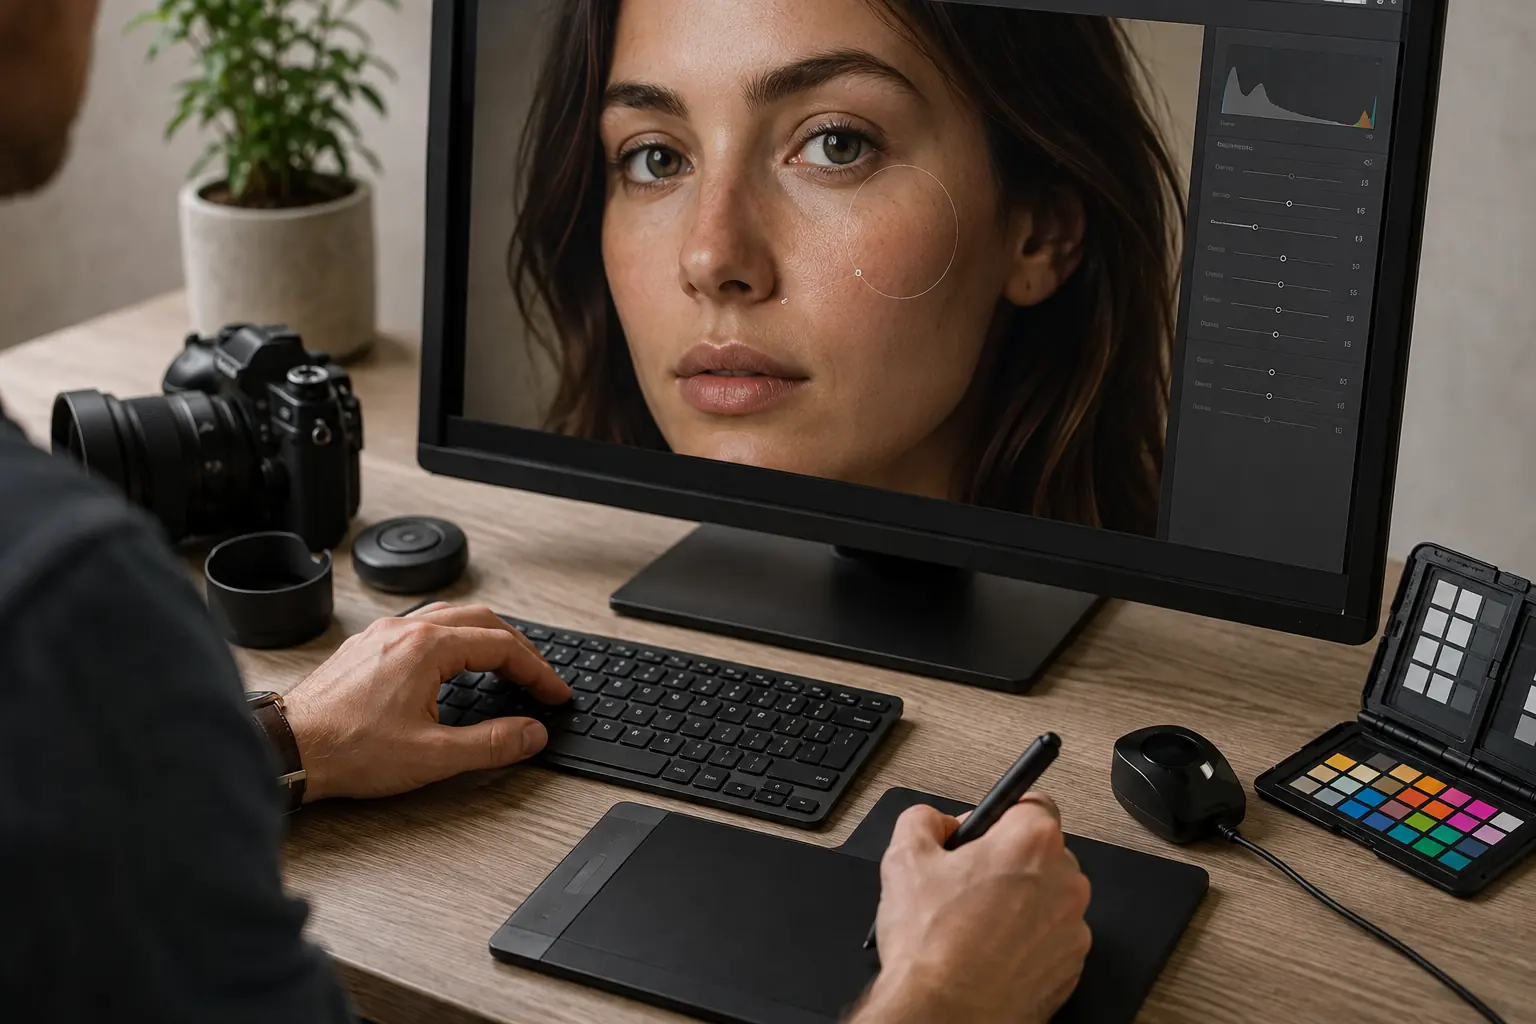
Dodge and burn can balance small areas of light and shadow without removing texture. Work at a low opacity and zoom out frequently. Frequency separation can help with advanced corrections, but poor use often produces waxy skin. For most portraits, careful healing plus subtle dodge and burn is safer and faster.
Useful Starting Points for Common Adjustments
| Adjustment | Safe starting approach | What to watch for |
|---|---|---|
| Exposure | Adjust for the main subject | Clipped highlights and grey blacks |
| Highlights/Shadows | Use only enough to recover useful detail | Flat, HDR-like results |
| Texture | Small positive values for detail; small negative values for skin | Crunchy detail or plastic skin |
| Noise reduction | Balance luminance reduction with preserved detail | Smeared hair and fabric |
| Sharpening | Judge at 100% and use masking | Halos and amplified noise |
| Vignette | Keep it subtle and centred on the subject | Obvious dark corners |
These are principles, not universal slider numbers. Camera, ISO, lighting, subject and output size all change what an image needs.
How to Edit Photos on iPhone or Android
The same workflow applies on a phone: crop and straighten, correct exposure and white balance, control highlights, adjust colour, make a selective edit and sharpen lightly. Lightroom Mobile and other capable editors support RAW files and masks, but the small screen can make colour and brightness look misleading. Turn off display filters such as Night Shift, avoid editing in direct sunlight and check important images later on another calibrated screen.
Using AI Photo Editing Without Making Images Look Fake
AI tools can speed up culling, subject selection, noise reduction, dust removal and background cleanup. They should not replace visual judgment. Inspect generated edges, reflections, hands, jewellery, repeated textures and architectural lines. Keep a version before every generative change and disclose major alterations when accuracy matters, especially in documentary, event or real-estate photography.
Best Export Settings for Web, Social Media and Print
| Destination | Format and colour | Practical guidance |
|---|---|---|
| Website | WebP or high-quality JPEG, sRGB | Resize to the largest displayed dimensions and compress responsibly |
| Instagram/social | JPEG, sRGB | Export at the platform-ready aspect ratio and apply output sharpening for screen |
| Client delivery | High-quality JPEG, sRGB | Keep a full-resolution master plus a smaller web copy |
| Professional print | JPEG or TIFF as requested by the lab | Use the lab’s colour profile and resolution instructions |
Do not enlarge a small file merely by typing a higher resolution number. Pixel dimensions determine how much real image information is available. Always archive the edited master before creating smaller delivery versions.
Common Photo Editing Mistakes
- Editing without a calibrated reference: an overly bright or blue screen leads to dark or warm exports.
- Applying one preset to every lighting condition: presets are starting points, not finished edits.
- Recovering every shadow: photographs need some depth and visual hierarchy.
- Oversaturating skin: check orange and red channels separately.
- Sharpening before resizing: final output size changes how much sharpening is appropriate.
- Retouching only at high zoom: zoom out often to judge whether the whole photograph still looks natural.
- Replacing rather than refining: major generative changes can remove authenticity and introduce errors.
Professional Editing Checklist
- Back up the original files.
- Select the strongest frame and confirm critical focus.
- Apply lens corrections, crop and straighten.
- Correct white balance and exposure.
- Refine contrast and colour.
- Use local masks to guide attention.
- Remove only genuine distractions.
- Check skin, edges and noise at 100%.
- Compare with the original and take a short visual break.
- Export in the correct size, format and colour space.
Frequently Asked Questions
Which is better for photo editing: Lightroom or Photoshop?
Lightroom is usually faster for organising, batch processing and complete colour workflows. Photoshop is better for complex retouching, layers and detailed object removal. Many professional photographers use both.
Can I edit photos professionally on my phone?
Yes, especially for social media and quick client previews. Shoot RAW when possible, use selective tools carefully and verify colour and brightness on another screen before final delivery or printing.
How long should professional photo editing take?
A clean global edit may take only a few minutes once a consistent workflow is established. Detailed portrait retouching or complex cleanup takes longer. The goal is not to spend maximum time—it is to make purposeful adjustments efficiently.
How do I keep skin looking natural?
Correct white balance first, reduce temporary distractions selectively, preserve pores and fine texture, and avoid strong blur. Compare frequently with the original at normal viewing size.
From Editing Technique to a Finished Portrait
Strong editing begins with strong photography. Lighting, focus, lens choice and posing determine how much information is available in post-production. Explore our portrait photography techniques guide, view the Green Day Photography portfolio, or learn about our in-home family photography sessions in Toronto and the GTA.
Add a Comment